Pyle PRJWM8 Käyttöohje
Lue alta 📖 käyttöohje suomeksi merkille Pyle PRJWM8 (12 sivua) kategoriassa Wandsteun. Tämä opas oli hyödyllinen 26 henkilölle ja sai 4.5 tähden keskimäärin 13.5 käyttäjältä
Sivu 1/12

INSTALLATION MANUAL
PRJWM8
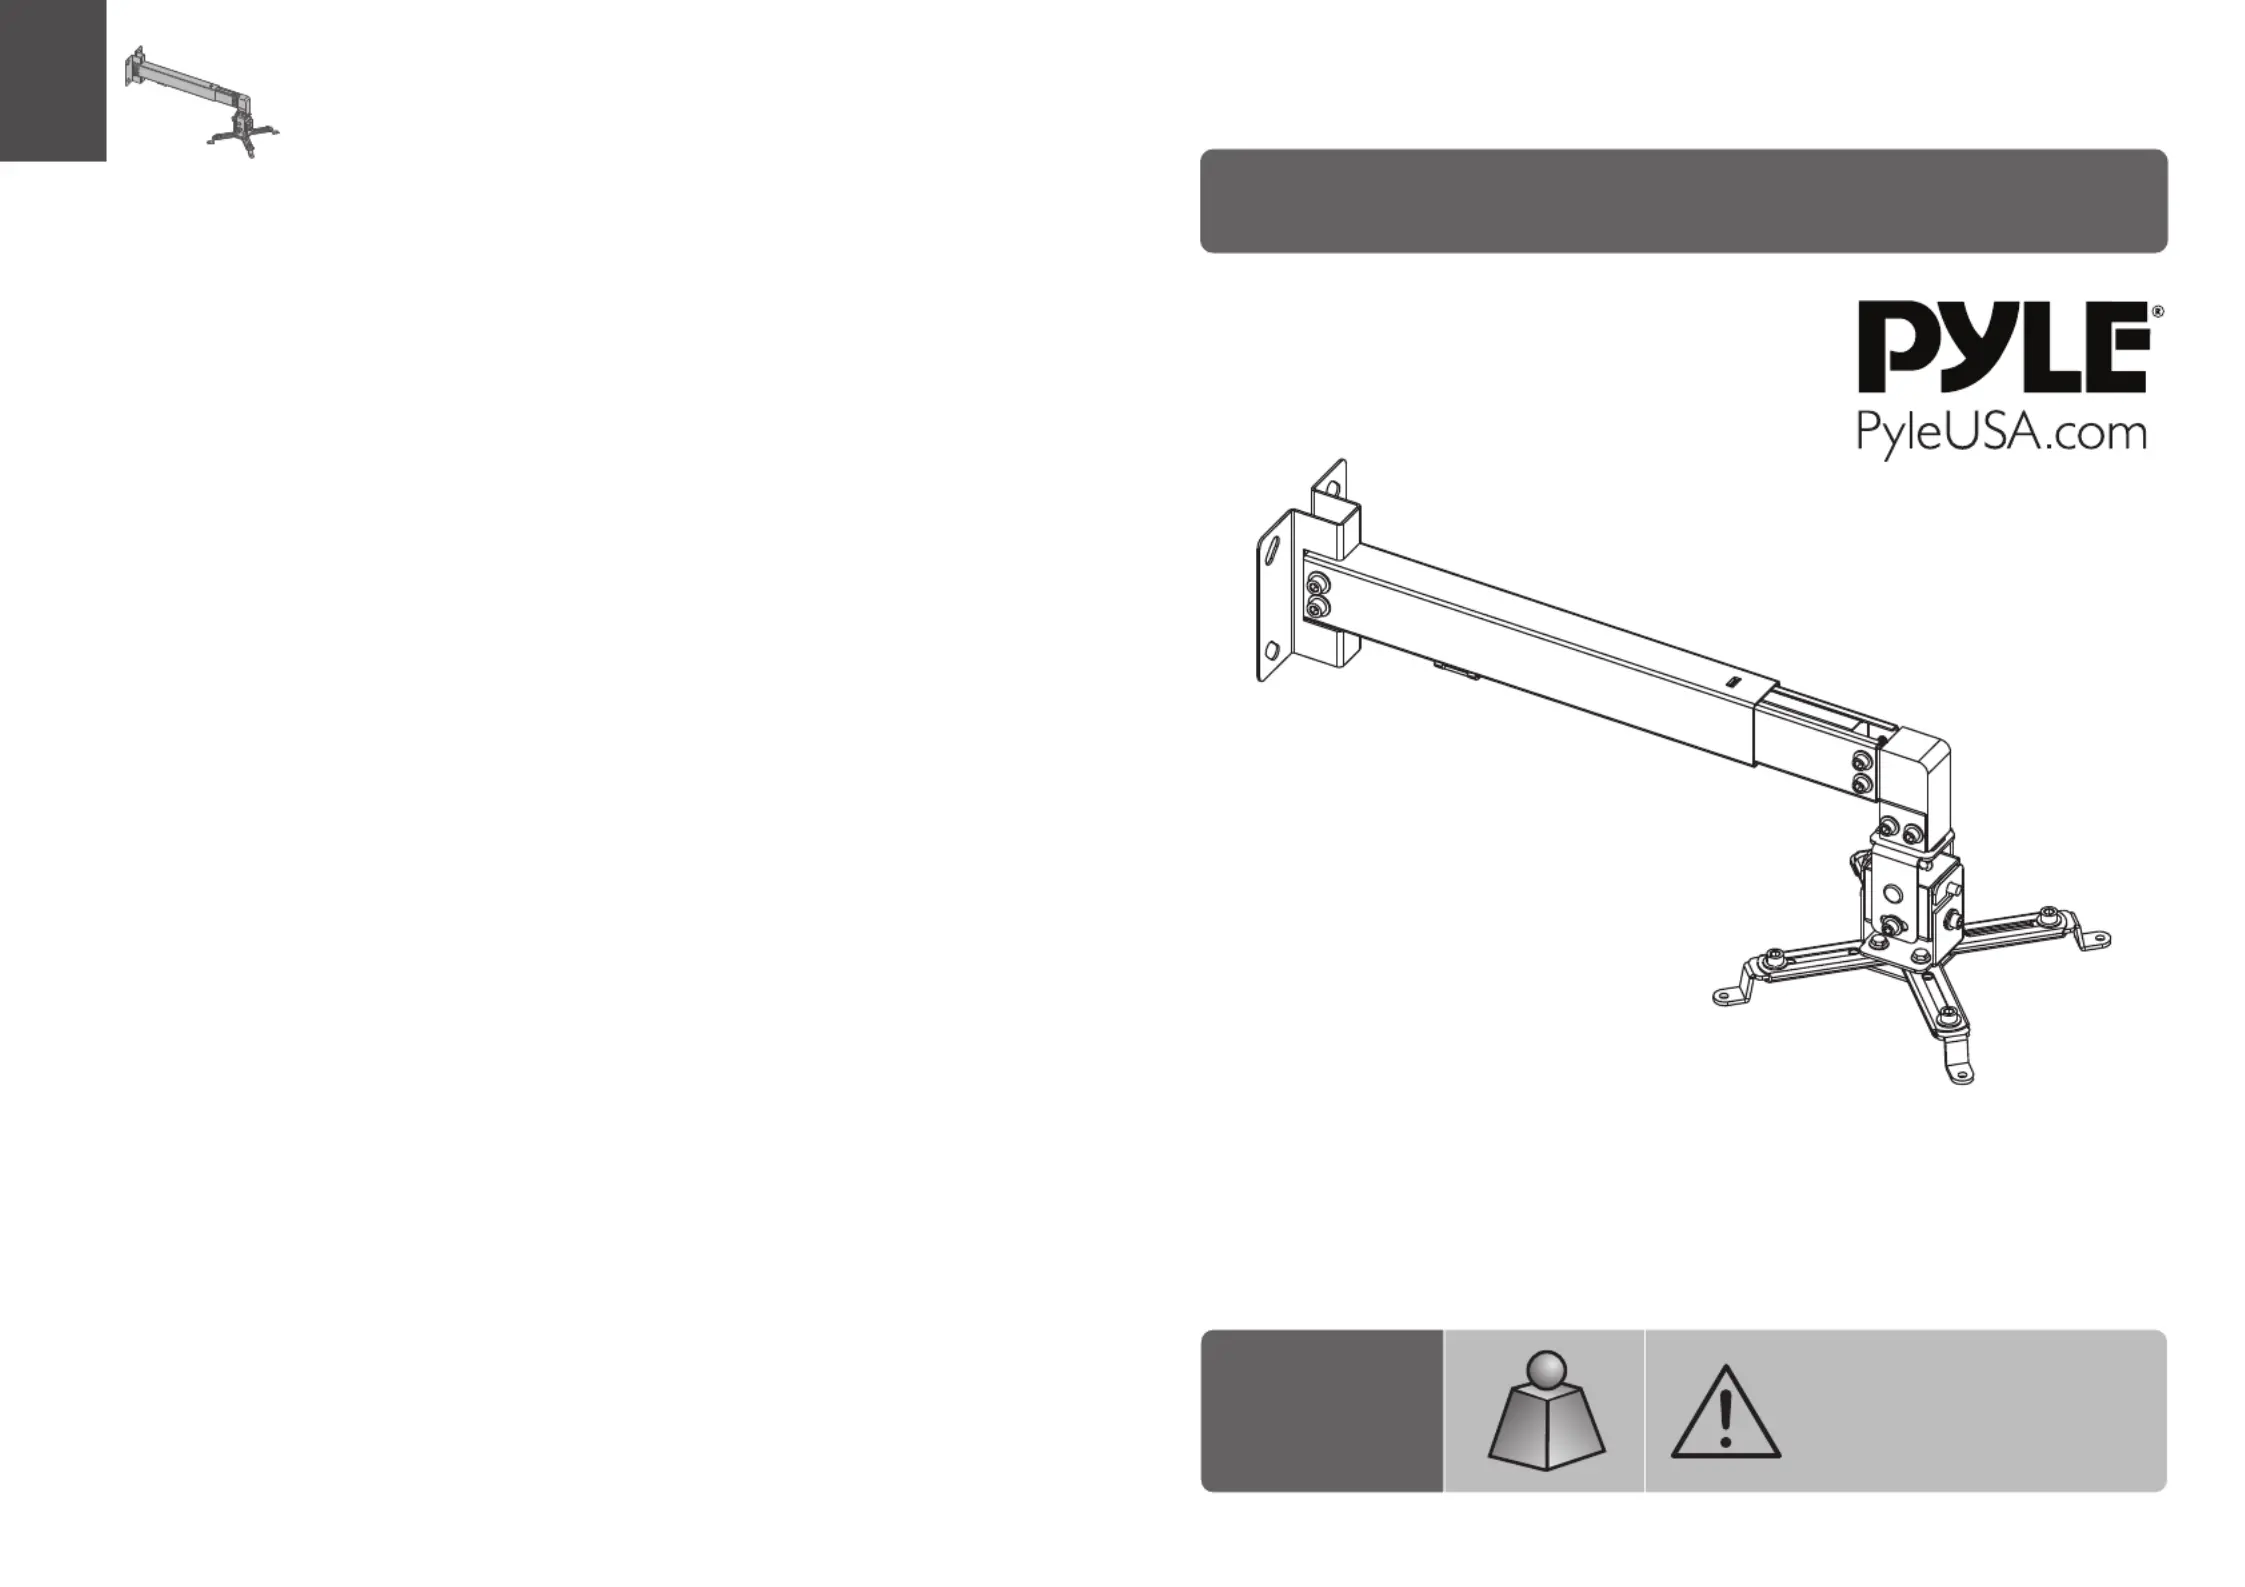
Projector Wall Mount
2
2
2
20k
0k
0k
0kg
g
g
g
(
(
(
(44
44
44
44l
l
l
lbs
bs
bs
bs)
)
)
)
R
R
R
RA
A
A
AT
T
T
TED
ED
ED
ED
20kg
(44lbs)
RATED
CAUTION: DO NOT EXCEED RATED
LISTED WEIGHT. SERIOUS INJURY OR
PROPERTY DAMAGE MAY OCCUR!

21
NOTE: Read the entire instruction manual before you start installation and assembly.
WARNING
• Do not begin the installation until you have read and understood all the instructions
and warnings contained in this installation sheet. If you have any questions
regarding any of the instructions or warnings, please contact your local distributor.
• This mounting bracket was designed to be installed and utilised ONLY as
specified in this manual. Improper installation of this product may cause damage
or serious injury.
• This product should only be installed by someone with good mechanical ability
who has basic building experience and fully understands this manual.
• Make sure that the supporting surface will safely support the combined weight of
the equipment and all attached hardware and components.
• Always use an assistant or mechanical lifting equipment to safely lift and position
the equipment.
• Tighten screws firmly, but do not over tighten. Over tightening can cause damage
to the items, This greatly reduces their holding power.
• This product is intended for indoor use only. Using this product outdoors could
lead to product failure and personal injury.
ST6.3x55 (x4)
W-A
concrete anchor
W-B
(x4)
D8 washer (x4)
W-C
Component Checklist
IMPORTANT: Ensure that you have received all parts according to the component checklist prior to installation.
If any parts are missing or faulty, telephone your local distributor for a replacement.
Package M
Package W
adjustable rod (x1)
A
wall plate (x1)
B
pivot bracket (x1)
C
adapter bracket (x1)
D
cable cover (x1)
H
M5x10
M-A
(x10) M6x10 (x4)
M-B
D3 (x4)
M-F
washer D5 (x14)
M-H
washer
M5x8 (x4)
M-C
M4x8 (x4)
M-D
4mm Allen key (x1)
M-K
5mm Allen key (x1)
M-L
M3x8 (x4)
M-E
D4 (x4)
M-G
washer D6 (x4)
M-J
washer
94mm
M-M
channel foot (x2)
D5 plastic
washer (x2)
M-I
decorative
cover (x1)
E
right
connector (x1)
F
left
connector (x1)
G

1. Cable Management
4
3
Note: Make sure the
installation direction
of bottom plate is correct.
Note: Make sure the
installation direction
is correct.
M-L
clamp plate screw
• Loosen three screws with a proper screwdriver. Remove the bottom plate from the inner rod.
• Run the cable through the correct channel.
bottom plate
inner rod
outer rod
B
Insert the bottom plate into the inner rod and tighten the three screws.
Use an Allen Key to loosen the clamp plate screw in order to separate the inner rod from the
outer rod.
Tuotetiedot
Merkki: | Pyle |
Kategoria: | Wandsteun |
Malli: | PRJWM8 |
Tarvitsetko apua?
Jos tarvitset apua merkille Pyle PRJWM8 esitä kysymys alla ja muut käyttäjät vastaavat sinulle
Wandsteun Pyle Käyttöohjeet
6 Joulukuuta 2024
Wandsteun Käyttöohjeet
- Wandsteun SMART Technologies
- Wandsteun Meliconi
- Wandsteun Chief
- Wandsteun Mount-It!
- Wandsteun Hoffman
- Wandsteun Smart-AVI
- Wandsteun Best Buy
- Wandsteun Nedis
- Wandsteun Sanus
- Wandsteun Karma
- Wandsteun NeoMounts
- Wandsteun Rocketfish
- Wandsteun V7
- Wandsteun Blaupunkt
- Wandsteun MantelMount
Viimeisimmät Wandsteun Käyttöohjeet
5 Huhtikuuta 2025
29 Tammikuuta 2025
28 Tammikuuta 2025
24 Tammikuuta 2025
24 Tammikuuta 2025
24 Tammikuuta 2025
24 Tammikuuta 2025
24 Tammikuuta 2025
24 Tammikuuta 2025
24 Tammikuuta 2025