Pyle PDWR40W Käyttöohje
Lue alta 📖 käyttöohje suomeksi merkille Pyle PDWR40W (57 sivua) kategoriassa Kaiutin. Tämä opas oli hyödyllinen 40 henkilölle ja sai 4.5 tähden keskimäärin 3 käyttäjältä
Sivu 1/57
www.PyleUSA.com
Featu
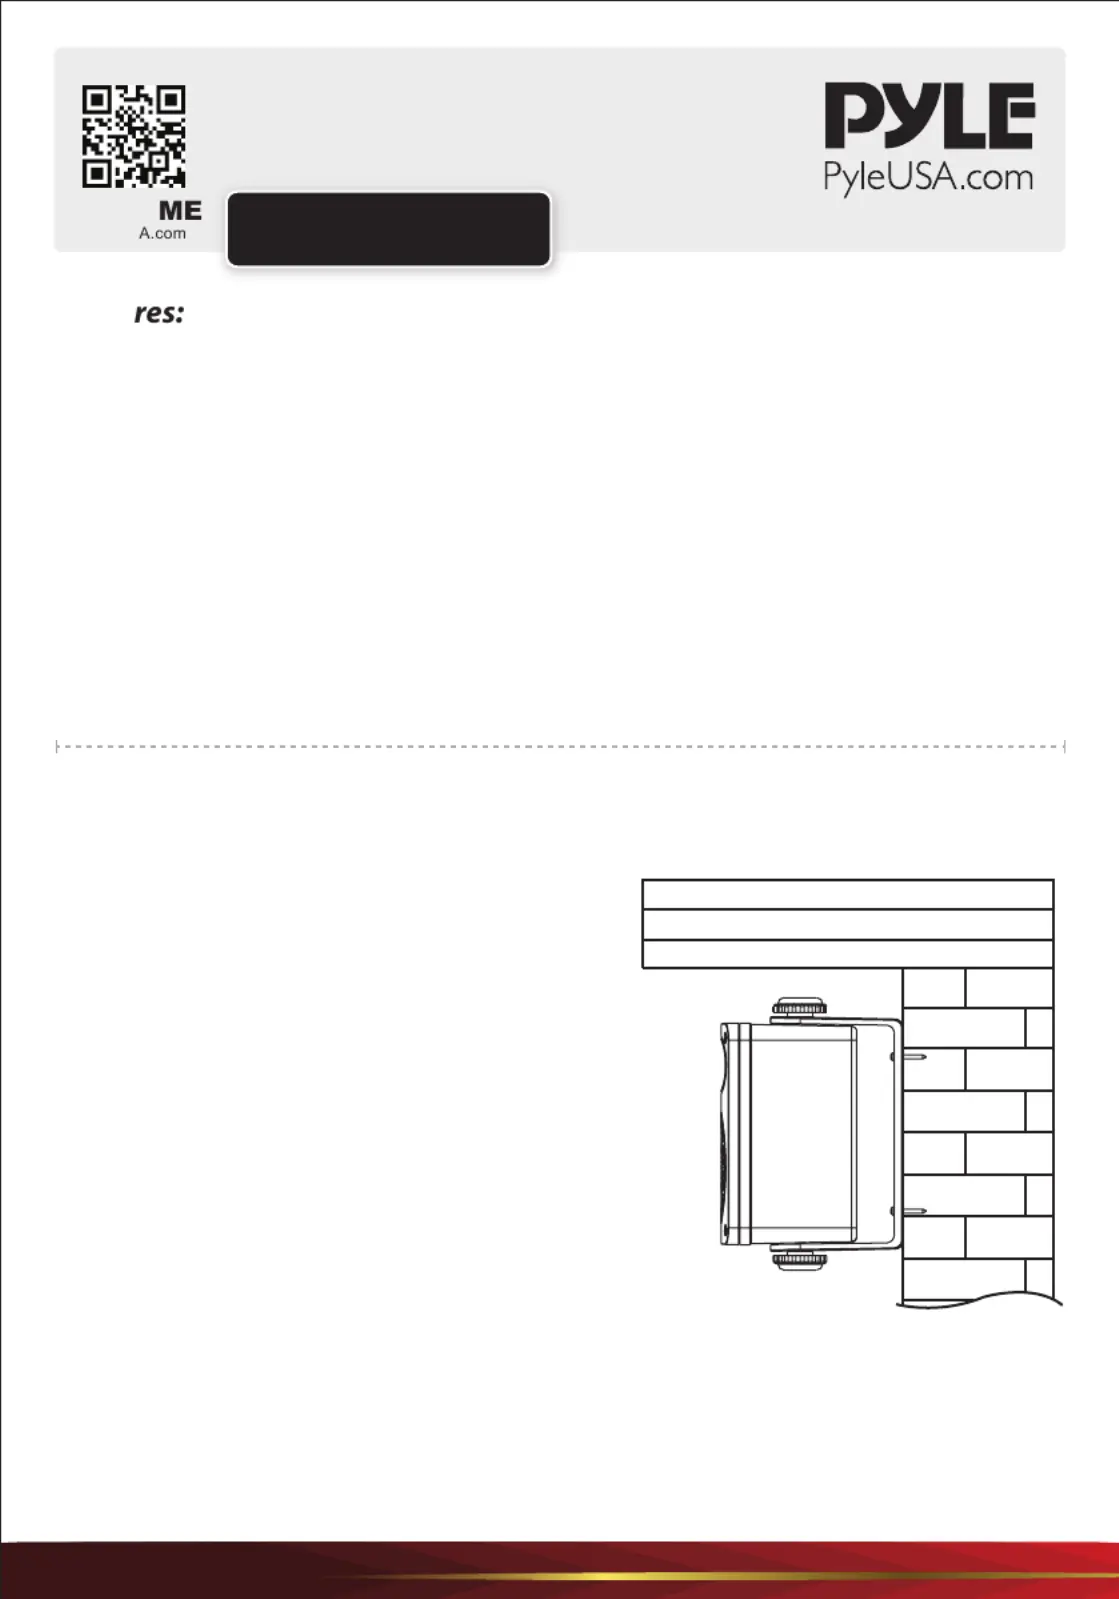
Installation
MOUNTING THE BRACKET MOUNTING
1. Remove the bracket knobs and the bracket
from the speaker.
2. Hold the bracket up to the mounting surface.
"" can be mounted either horizontallyPYLE
or vertically. Hold the bracket so that the speaker
wire ts through the large, circular wire hole in
the bracket. Align the bracket to be square with
the surrounding. (Use a level for accuracy)
3. Mark the locations of the three shaped screw holes.
Use all of the holes.
4. Drill pilot holes into the mounting surface.
5. Gently pull the speaker wire through the wire hole
in the center of the mounting bracket.
Align the bracket so that the holes all line up.
6. Use your hardware to attach the bracket to the mounting surface.
Visit Our Website
SCAN
PyleUS
USER GUIDE
INDOOR/OUTDOOR
WEATHERPROOF SPEAKER SYSTEMS
•Excellent for use on Boats Marinas, Decks,
Patios, Poolside, Outdoors, Etc.
•Completely Water Proof
•Each PDWR40B Features:
5 1/4” Aluminum Injection Cone Woofer•
40 OZ. Magnet Structure•
1”High Compliance Myiar Tweeter•
Capacitor Crossover Network•
Bass Reex Vent for added Bass Response•
•Heavy Duty ABS Constrution
•Quick Connect/Disconnect Speaker
Terminals
•Unique Spring Loaded Mounting System
•Removable Rustproof Mesh Grills
•Power: 200 Watts RMS/400 Watts Peak
•Frequency Response: 40-22K HZ
•Impedance: 4 Ohms
•Dimensions: 6.25”(W) x 9.25”(H) x 5.75”(D)
Tuotetiedot
| Merkki: | Pyle |
| Kategoria: | Kaiutin |
| Malli: | PDWR40W |
Tarvitsetko apua?
Jos tarvitset apua merkille Pyle PDWR40W esitä kysymys alla ja muut käyttäjät vastaavat sinulle
Kaiutin Pyle Käyttöohjeet

19 Helmikuuta 2025
28 Tammikuuta 2025
21 Tammikuuta 2025
11 Tammikuuta 2025
11 Tammikuuta 2025
11 Tammikuuta 2025
11 Tammikuuta 2025
2 Tammikuuta 2025
29 Joulukuuta 2024
6 Joulukuuta 2024
Kaiutin Käyttöohjeet
Viimeisimmät Kaiutin Käyttöohjeet
8 Huhtikuuta 2025
8 Huhtikuuta 2025
8 Huhtikuuta 2025
7 Huhtikuuta 2025
7 Huhtikuuta 2025
7 Huhtikuuta 2025
5 Huhtikuuta 2025
3 Huhtikuuta 2025
3 Huhtikuuta 2025
3 Huhtikuuta 2025