Vizio SB3831-D0 Käyttöohje
Vizio Audio/video-muunnin SB3831-D0
Lue alta 📖 käyttöohje suomeksi merkille Vizio SB3831-D0 (52 sivua) kategoriassa Audio/video-muunnin. Tämä opas oli hyödyllinen 54 henkilölle ja sai 4.2 tähden keskimäärin 3 käyttäjältä
Sivu 1/52
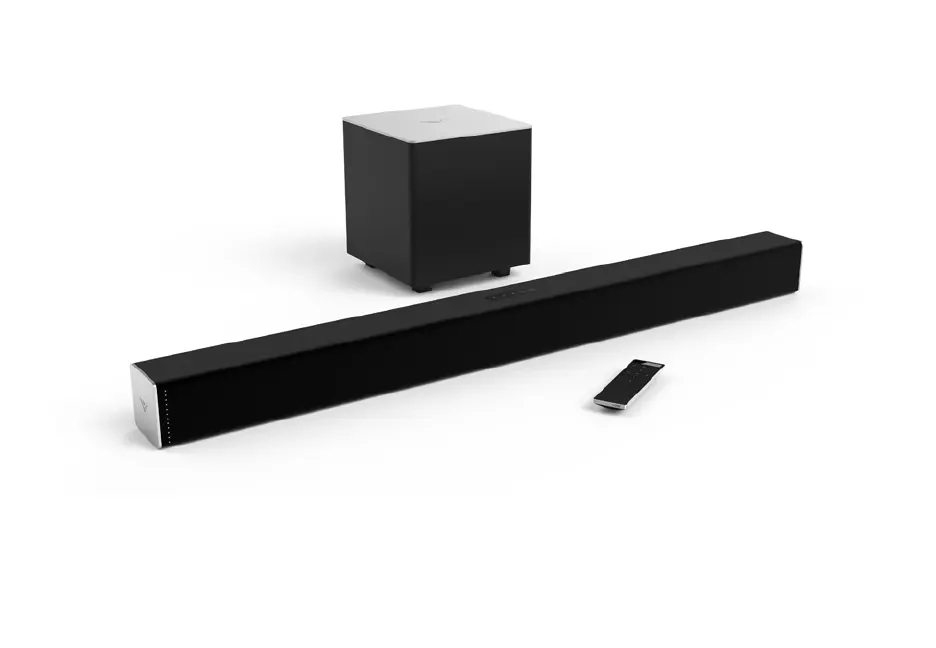
QUICK START GUIDE
Model: SB3831-D0
VIZIO
Tuotetiedot
| Merkki: | Vizio |
| Kategoria: | Audio/video-muunnin |
| Malli: | SB3831-D0 |
Tarvitsetko apua?
Jos tarvitset apua merkille Vizio SB3831-D0 esitä kysymys alla ja muut käyttäjät vastaavat sinulle
Audio/video-muunnin Vizio Käyttöohjeet

16 Lokakuuta 2024
16 Lokakuuta 2024
16 Lokakuuta 2024
16 Lokakuuta 2024
16 Lokakuuta 2024
16 Lokakuuta 2024
16 Lokakuuta 2024
16 Lokakuuta 2024
16 Lokakuuta 2024
16 Lokakuuta 2024
Audio/video-muunnin Käyttöohjeet
Viimeisimmät Audio/video-muunnin Käyttöohjeet
7 Huhtikuuta 2025
3 Huhtikuuta 2025
2 Huhtikuuta 2025
2 Huhtikuuta 2025
1 Huhtikuuta 2025
1 Huhtikuuta 2025
1 Huhtikuuta 2025
29 Maaliskuuta 2025
28 Maaliskuuta 2025
26 Maaliskuuta 2025