Technical Pro RX38UR Käyttöohje
Technical Pro
Vastaanotin
RX38UR
Lue alta 📖 käyttöohje suomeksi merkille Technical Pro RX38UR (11 sivua) kategoriassa Vastaanotin. Tämä opas oli hyödyllinen 3 henkilölle ja sai 4.5 tähden keskimäärin 2 käyttäjältä
Sivu 1/11

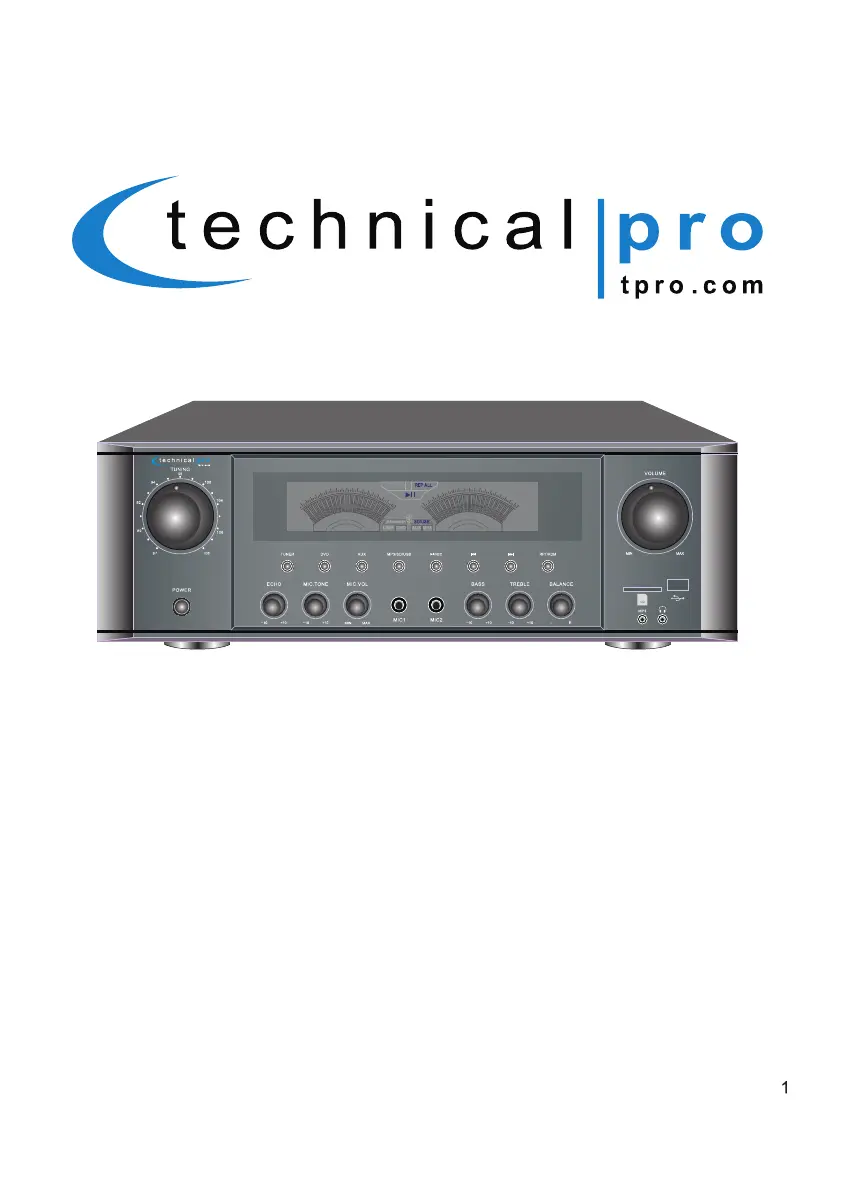
with USB & SD Card Inputs
Compatible with iPod™
Professional Receiver
Technical Pro
User Manual for:
RX38Ur
RX38Ur
1000 Watts

Congratulations and thank you for your purchase of this Technical Pro professional receiver, the RX38Ur. To get the most from your RX38Ur,
it is recommended that you review all of the information provided in this instruction manual before operating this equipment.
If you've spent any time at all in professional audio, you know the name Technical Pro and what it stands for — incredible performance &
sound, and the ultimate in reliability under harsh conditions. And now, Technical Pro offers the same technology in a series of receivers
bringing more of what sets Technical Pro apart from all others.
1- Read these instructions thoroughly before using this item.
2- Keep these instructions for future reference.
3- Heed all warnings.
4- Follow all instructions.
5- WARNING: To prevent fire or electric shock, do not expose this equipment to rain or moisture. Do not store or operate this
product near any liquids.
6- Clean only with a dry cloth.
7- Do not store or operate this product near any heat sources such as radiators, heat registers, stoves, or other apparatuses
(including amplifiers) that produce heat.
8- Do not defeat the safety purpose of the polarized or grounding-type plug. A polarized plug has two blades with one wider than
the other. A grounding plug has two blades and a round grounding prong. The wide blade or third prong is provided for your safety.
If the provided plug does not fit your outlet, consult an electrician for the replacement of the obsolete outlet.
9- Protect the all wires connected to this unit from being walked on or pinched, particularly plugs and the point where they exit from
the unit. When removing the cord from the power outlet, remove it by holding the plug not by pulling the cord.
10- Unplug the unit during lightning storms or when unused for long periods of time.
11- When wiring this unit and all other equipment used in connection to this unit make sure that all of your equipment is turned OFF.
12- Once installation and wiring is complete power on all your equipment with the volume and level controls turned DOWN. Once
all the equipment is ON slowly raise the volume or level controls to their proper positions.
13- When grounding this unit, be sure to do so correctly, so as not to defeat the built-in grounding in this unit.
14- When you have finished using this unit, be sure that both tray doors are closed using the open / close button before powering
off the unit.
15- Before placing, installing, rigging, or suspending any product, inspect all hardware, suspension, cabinets, transducers,brackets
and associated equipment for damage. Any missing, corroded, deformed, or non-load rated component could significantly reduce
the strength of the installation, placement or array. Any such condition severely reduces the safety of the installation and should be
immediately corrected. Use only hardware which is rated for the loading conditions of the installation and any possible short-term,
unexpected overloading. Never exceed the rating of the hardware or equipment.
16- Consult a licensed, Professional Engineer regarding physical equipment installation. Ensure that all local, state and national
regulations regarding the safety and operation of equipment are understood and adhered to.
17- Refer all servicing to qualified service personnel. Servicing is required when the apparatus has been damaged in any way,
such as power supply cord or plug is damaged, liquid has been spilled or objects have fallen into the apparatus, the apparatus
has been exposed to rain or moisture, does not operate normally, or has been dropped.
WARNING!
CAUTION: TO REDUCE THE RISK OF ELECTRIC SHOCK, DO NOT REMOVE THE COVER OF THIS UNIT. THERE
ARE NOUSER-SERVICEABLE PARTS INSIDE. REFER ALL SERVICING TO A QUALIFIED TECHNICIAN.
The lightning flash with arrowhead symbol within an equilateral triangle is intended to alert the user to the presence
of "dangerous" voltage within the product's enclosure that may be of sufficient magnitude to constitute a risk of
electric shock to humans. Users should exhibit extra safety when this symbol appears in this instruction manual and
follow all precautions as they are stated.
The exclamation point within an equilateral triangle is intended to alert the user to the presence of important
operating and maintenance (servicing) instructions in this manual.
Introduction
RX38Ur

1.Power:Press this button to power the unit on and off.
2.TUNING:Use this knob to manually scan through the FM stations. The input must be set to TUNER in order
to play the signal from the tuner.
3.TUNER:Press this button to select the FM input.
4.DVD:Press this button to select the DVD input. Once pressed the unit will play whatever signal is connected
to the DVD input.
5.AUX:Press this button to select the AUX input. Once pressed the unit will play whatever signal is connected
to the AUX input.
6.MP3/SD/USB Selector:Press this button to select the MP3/SD/USB input mode. Once pressed, the unit will
first attempt to play from the MP3 input. If there is nothing connected to the MP3 input, the unit will play the last
device connected to either the USB or SD Card input
7.Play / Pause / Record Button:
When the input selected is MP3/SD/USB, press this button to pause
the signal from the USB flash drive, SD card or
iPod
™
(Classic and Nano) (connected to the USB input).
Press this button again to play.The play/pause function will only work for the USB flash drive, SD card
or
iPod
™
(Classic and Nano).
THERE IS NO RECORDING FUNCTION WHEN INPUT SELECTED IS MP3/SD/USB.
When the input selected is TUNER/AUX/ DVD and there is an USB flash drive or SD card (with blank
space on it) inserted into their respective slot, pressing and holding this button will activate the recording
function.Press this button and hold for several seconds and the indicator of recording function will light
up and unit will create a new file in the connected USB flash drive or SD card and get ready to record.
At this point there is no actual recording yet. Press the button again and the unit will start recording onto
the USB flash drive or SD Card and the recording indicator will flash. Press a third time to pause the
recording. Press again to continue the recording. Press and hold for several seconds to save the file
and end the recording and exit. If both USB flash drive and SD card are connected, the unit will begin
recording onto the USB flash drive. If the USB flash drive is full, remove it and then press the record
button again to start another recording. THE RECORDING FILE FORMAT IS .WAV.
RX38Ur
1000 Watts
1
17
18 19 20 21 22 23 24 13 1615 14
23 4 5 6 7 8 9
10 1211
RX38Ur Front Panel
RX38Ur
Tuotetiedot
Merkki: | Technical Pro |
Kategoria: | Vastaanotin |
Malli: | RX38UR |
Tarvitsetko apua?
Jos tarvitset apua merkille Technical Pro RX38UR esitä kysymys alla ja muut käyttäjät vastaavat sinulle
Vastaanotin Technical Pro Käyttöohjeet

19 Tammikuuta 2025

19 Tammikuuta 2025

18 Tammikuuta 2025
Vastaanotin Käyttöohjeet
- Vastaanotin Bosch
- Vastaanotin Power Dynamics
- Vastaanotin Vonyx
- Vastaanotin Akg
- Vastaanotin Jensen
- Vastaanotin Hartke
- Vastaanotin Philips
- Vastaanotin Goobay
- Vastaanotin Avantree
- Vastaanotin Godox
- Vastaanotin Cayin
- Vastaanotin Meridian
- Vastaanotin Fender
- Vastaanotin Axton
- Vastaanotin Kogan
- Vastaanotin DJI
- Vastaanotin Sony
- Vastaanotin Pro-Ject
- Vastaanotin Yamaha
- Vastaanotin Morel
- Vastaanotin Extron
- Vastaanotin Lindy
- Vastaanotin NuPrime
- Vastaanotin Ecler
- Vastaanotin AudioControl
- Vastaanotin Rotel
- Vastaanotin Audio-Technica
- Vastaanotin Toa
- Vastaanotin Marantz
- Vastaanotin Rega
- Vastaanotin Vox
- Vastaanotin Pyle
- Vastaanotin Shure
- Vastaanotin Roland
- Vastaanotin NAD
- Vastaanotin Wet Sounds
- Vastaanotin JVC
- Vastaanotin VMV
- Vastaanotin S.M.S.L
- Vastaanotin Kicker
- Vastaanotin Auna
- Vastaanotin OSD Audio
- Vastaanotin DataVideo
- Vastaanotin Audizio
- Vastaanotin Bluesound
- Vastaanotin Blackstar
- Vastaanotin Hertz
- Vastaanotin Kenwood
- Vastaanotin Cambridge
- Vastaanotin MB Quart
- Vastaanotin Aplic
- Vastaanotin CSL
- Vastaanotin NUVO
- Vastaanotin IFi Audio
- Vastaanotin Henry Engineering
- Vastaanotin Block
- Vastaanotin Smart-AVI
- Vastaanotin Advance
- Vastaanotin Artsound
- Vastaanotin Denon
- Vastaanotin Marshall
- Vastaanotin Yorkville
- Vastaanotin Valcom
- Vastaanotin Mosconi
- Vastaanotin JBL
- Vastaanotin Infinity
- Vastaanotin Helix
- Vastaanotin Soundstream
- Vastaanotin Klipsch
- Vastaanotin PAC
- Vastaanotin Bellari
- Vastaanotin Rolls
- Vastaanotin Ground Zero
- Vastaanotin Karma
- Vastaanotin Glemm
- Vastaanotin EA
- Vastaanotin Match
- Vastaanotin Renkforce
- Vastaanotin Scansonic
- Vastaanotin SPL
- Vastaanotin Audiotec Fischer
- Vastaanotin Crunch
- Vastaanotin QSC
- Vastaanotin A-NeuVideo
- Vastaanotin Atlona
- Vastaanotin Classé
- Vastaanotin FoneStar
- Vastaanotin Monitor Audio
- Vastaanotin Peavey
- Vastaanotin Crown
- Vastaanotin Fosi Audio
- Vastaanotin Graupner
- Vastaanotin Antelope Audio
- Vastaanotin Vaddio
- Vastaanotin ESX
- Vastaanotin Omnitronic
- Vastaanotin Rocstor
- Vastaanotin Russound
- Vastaanotin MEE Audio
- Vastaanotin Monacor
- Vastaanotin GigaBlue
- Vastaanotin Mx Onda
- Vastaanotin Black Hydra
- Vastaanotin Electro-Voice
- Vastaanotin Boss
- Vastaanotin JL Audio
- Vastaanotin Shanling
- Vastaanotin Atlas Sound
- Vastaanotin Comica
- Vastaanotin Ashly
- Vastaanotin MuxLab
- Vastaanotin Audiolab
- Vastaanotin Lectrosonics
- Vastaanotin Memphis Audio
- Vastaanotin Alpine
- Vastaanotin Evolution
- Vastaanotin AVM
- Vastaanotin Primare
- Vastaanotin Elektrobock
- Vastaanotin PureLink
- Vastaanotin Kramer
- Vastaanotin ATen
- Vastaanotin Blustream
- Vastaanotin Mtx Audio
- Vastaanotin Yaesu
- Vastaanotin Musical Fidelity
- Vastaanotin Vimar
- Vastaanotin Phoenix Gold
- Vastaanotin Bogen
- Vastaanotin RDL
- Vastaanotin Harman Kardon
- Vastaanotin Dynacord
- Vastaanotin Ferguson
- Vastaanotin REL Acoustics
- Vastaanotin Inovonics
- Vastaanotin BZBGear
- Vastaanotin Bresser
- Vastaanotin Hotone
- Vastaanotin Phonic
- Vastaanotin Imperial
- Vastaanotin Hifonics
- Vastaanotin Crest Audio
- Vastaanotin Devialet
- Vastaanotin AudioSource
- Vastaanotin Taga Harmony
- Vastaanotin Strong
- Vastaanotin SoundTube
- Vastaanotin James
- Vastaanotin ButtKicker
- Vastaanotin Antelope
- Vastaanotin Futaba
- Vastaanotin AVMATRIX
- Vastaanotin Mooer
- Vastaanotin Rexing
- Vastaanotin Ram Audio
- Vastaanotin Marshall Electronics
- Vastaanotin Atoll
- Vastaanotin DAP Audio
- Vastaanotin Comprehensive
- Vastaanotin Deaf Bonce
- Vastaanotin Inter-M
- Vastaanotin Esoteric
- Vastaanotin Konig & Meyer
- Vastaanotin Lumantek
- Vastaanotin Aguilar
- Vastaanotin Mark Levinson
- Vastaanotin Alto
- Vastaanotin Selfsat
- Vastaanotin Proel
- Vastaanotin Fiio
- Vastaanotin HiFi ROSE
- Vastaanotin Audibax
- Vastaanotin Luxman
- Vastaanotin Sound Ordnance
- Vastaanotin Wavtech
- Vastaanotin Dual
- Vastaanotin Parasound
- Vastaanotin Benchmark
- Vastaanotin KanexPro
- Vastaanotin InLine
- Vastaanotin Gefen
- Vastaanotin Vincent
- Vastaanotin Intelix
- Vastaanotin Lab Gruppen
- Vastaanotin GlobalSat
- Vastaanotin Koda
- Vastaanotin Naim
- Vastaanotin Anthem
- Vastaanotin Audison
- Vastaanotin Loxjie
- Vastaanotin Clare Controls
- Vastaanotin Edwards Signaling
- Vastaanotin Nubert
- Vastaanotin VigilLink
- Vastaanotin SmartSystem
- Vastaanotin Harper
- Vastaanotin DARTS
- Vastaanotin ETON
- Vastaanotin Elipson
- Vastaanotin Streacom
- Vastaanotin Phonocar
Viimeisimmät Vastaanotin Käyttöohjeet

9 Huhtikuuta 2025

9 Huhtikuuta 2025

5 Huhtikuuta 2025

4 Huhtikuuta 2025

2 Huhtikuuta 2025

2 Huhtikuuta 2025

1 Huhtikuuta 2025

30 Maaliskuuta 2025

30 Maaliskuuta 2025

29 Maaliskuuta 2025