Speed Queen FV6010WN Käyttöohje
Speed Queen Pesukone FV6010WN
Lue alta 📖 käyttöohje suomeksi merkille Speed Queen FV6010WN (21 sivua) kategoriassa Pesukone. Tämä opas oli hyödyllinen 29 henkilölle ja sai 4.3 tähden keskimäärin 2 käyttäjältä
Sivu 1/21
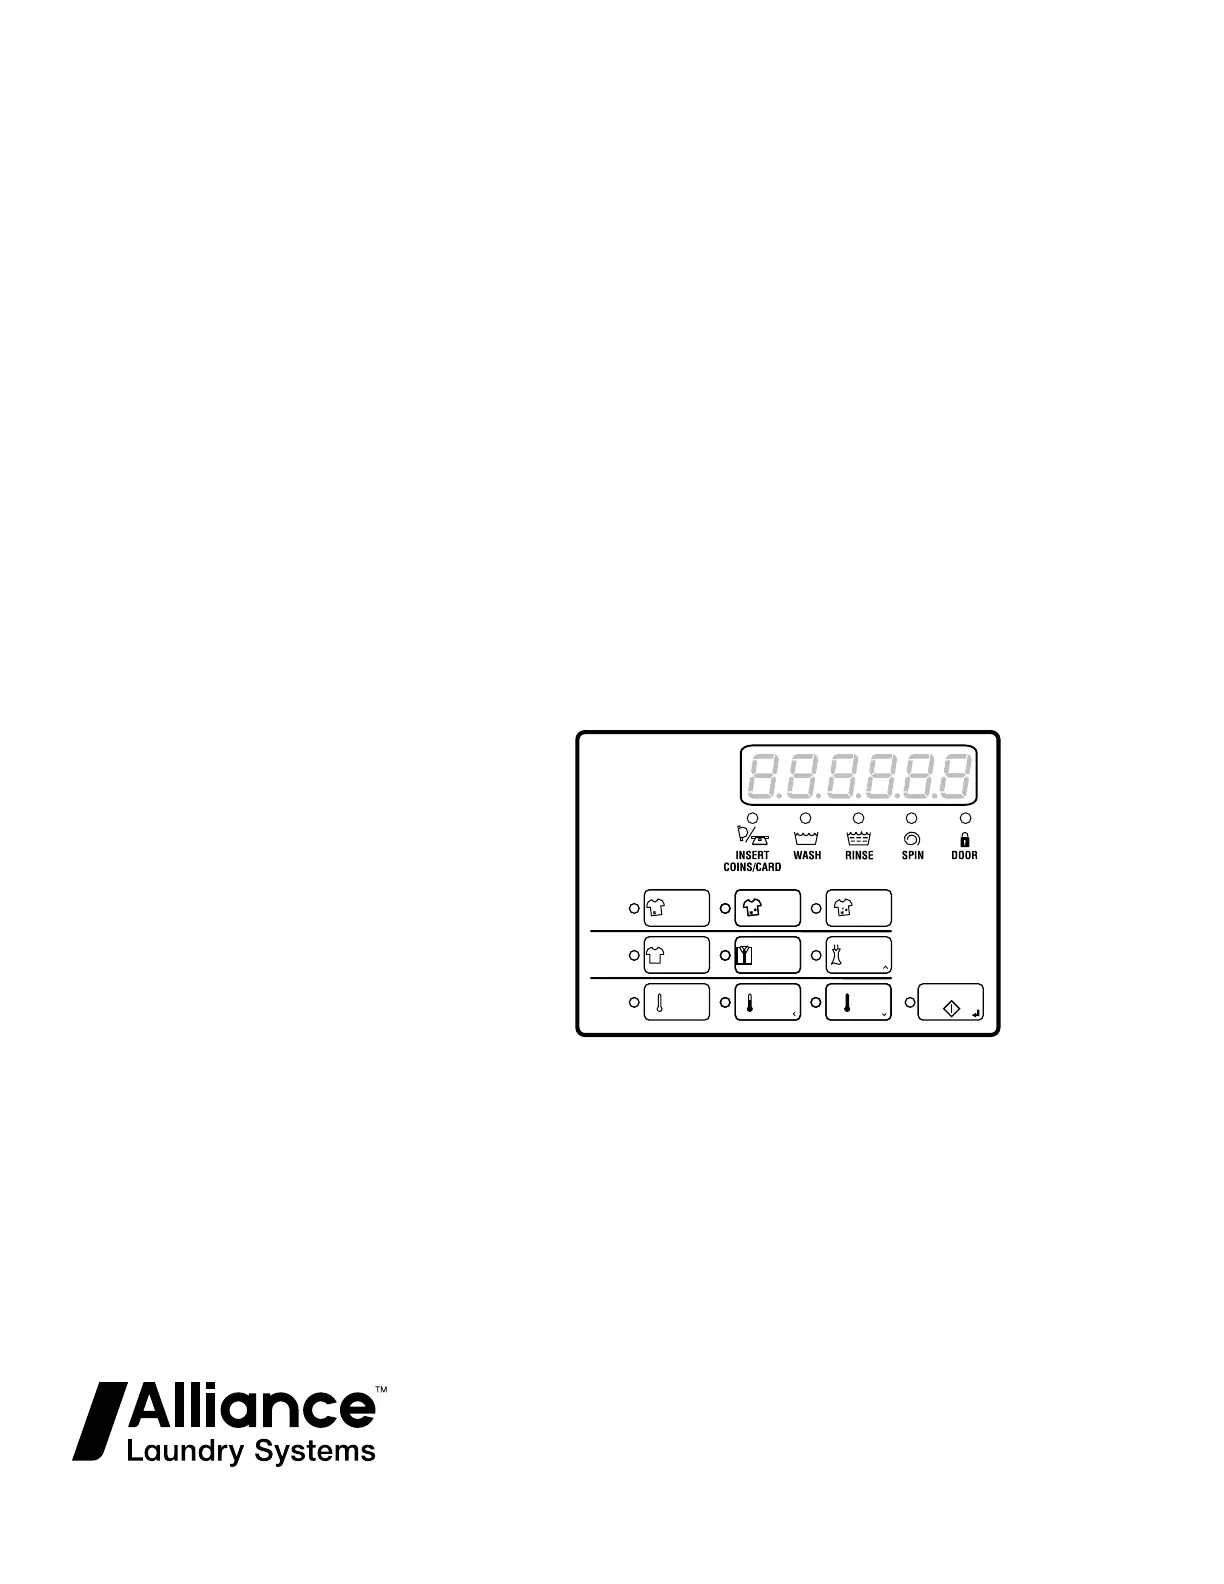
Programming
Frontload Washer
Refer to Page 12 for Model Identification
FLW1556C_SVG
Cycle
Wash
Temp
ULTRADELUXEREGULAR
DELICATESYNTHETICNORMAL
HOT
START
WARMCOLD
Original Instructions
Keep These Instructions for Future Reference.
CAUTION: Read the instructions before using the machine.
(If this machine changes ownership, this manual must accompany machine.)
Part No. 807870ENR4
May 2023
Tuotetiedot
| Merkki: | Speed Queen |
| Kategoria: | Pesukone |
| Malli: | FV6010WN |
Tarvitsetko apua?
Jos tarvitset apua merkille Speed Queen FV6010WN esitä kysymys alla ja muut käyttäjät vastaavat sinulle
Pesukone Speed Queen Käyttöohjeet

5 Helmikuuta 2025
5 Helmikuuta 2025
2 Tammikuuta 2025
Pesukone Käyttöohjeet
Viimeisimmät Pesukone Käyttöohjeet
9 Huhtikuuta 2025
8 Huhtikuuta 2025
8 Huhtikuuta 2025
8 Huhtikuuta 2025
8 Huhtikuuta 2025
7 Huhtikuuta 2025
7 Huhtikuuta 2025
5 Huhtikuuta 2025
5 Huhtikuuta 2025
5 Huhtikuuta 2025