PowerXL SmartSynx TO67D5-2SP Käyttöohje
PowerXL Rasvakeitin SmartSynx TO67D5-2SP
Lue alta 📖 käyttöohje suomeksi merkille PowerXL SmartSynx TO67D5-2SP (6 sivua) kategoriassa Rasvakeitin. Tämä opas oli hyödyllinen 34 henkilölle ja sai 4.9 tähden keskimäärin 6 käyttäjältä
Sivu 1/6
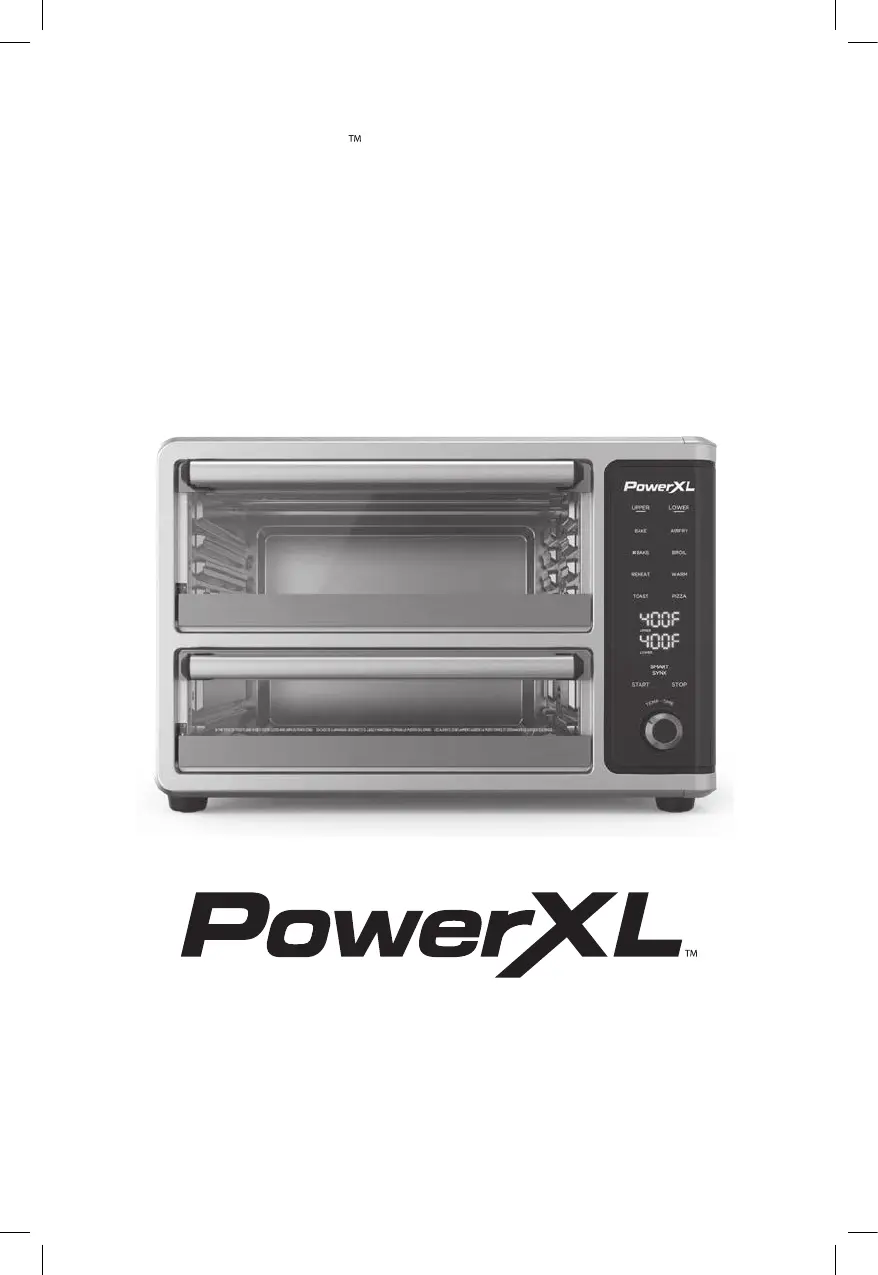
SmartSynx
Dual Door Oven
Horno de Doble Puerta
OWNER’S MANUAL
MANUAL DE USO Y CUIDADO
MODEL/MODELO:
TO67D5-2SP
Product may vary slightly from what is illustrated.
El producto puede variar ligeramente de lo que se ilustra.
TO67D5-2SP_30387_ES_IB_B.indd 1TO67D5-2SP_30387_ES_IB_B.indd 112/8/23 5:28 PM12/8/23 5:28 PM
Tuotetiedot
| Merkki: | PowerXL |
| Kategoria: | Rasvakeitin |
| Malli: | SmartSynx TO67D5-2SP |
Tarvitsetko apua?
Jos tarvitset apua merkille PowerXL SmartSynx TO67D5-2SP esitä kysymys alla ja muut käyttäjät vastaavat sinulle
Rasvakeitin PowerXL Käyttöohjeet

24 Tammikuuta 2025
28 Joulukuuta 2024
Rasvakeitin Käyttöohjeet
Viimeisimmät Rasvakeitin Käyttöohjeet
2 Huhtikuuta 2025
14 Maaliskuuta 2025
12 Maaliskuuta 2025
10 Maaliskuuta 2025
10 Maaliskuuta 2025
10 Maaliskuuta 2025
10 Maaliskuuta 2025
10 Maaliskuuta 2025
10 Maaliskuuta 2025
10 Maaliskuuta 2025