NordicTrack EXP10i Käyttöohje
NordicTrack Juoksumatto EXP10i
Lue alta 📖 käyttöohje suomeksi merkille NordicTrack EXP10i (44 sivua) kategoriassa Juoksumatto. Tämä opas oli hyödyllinen 58 henkilölle ja sai 4.6 tähden keskimäärin 2 käyttäjältä
Sivu 1/44
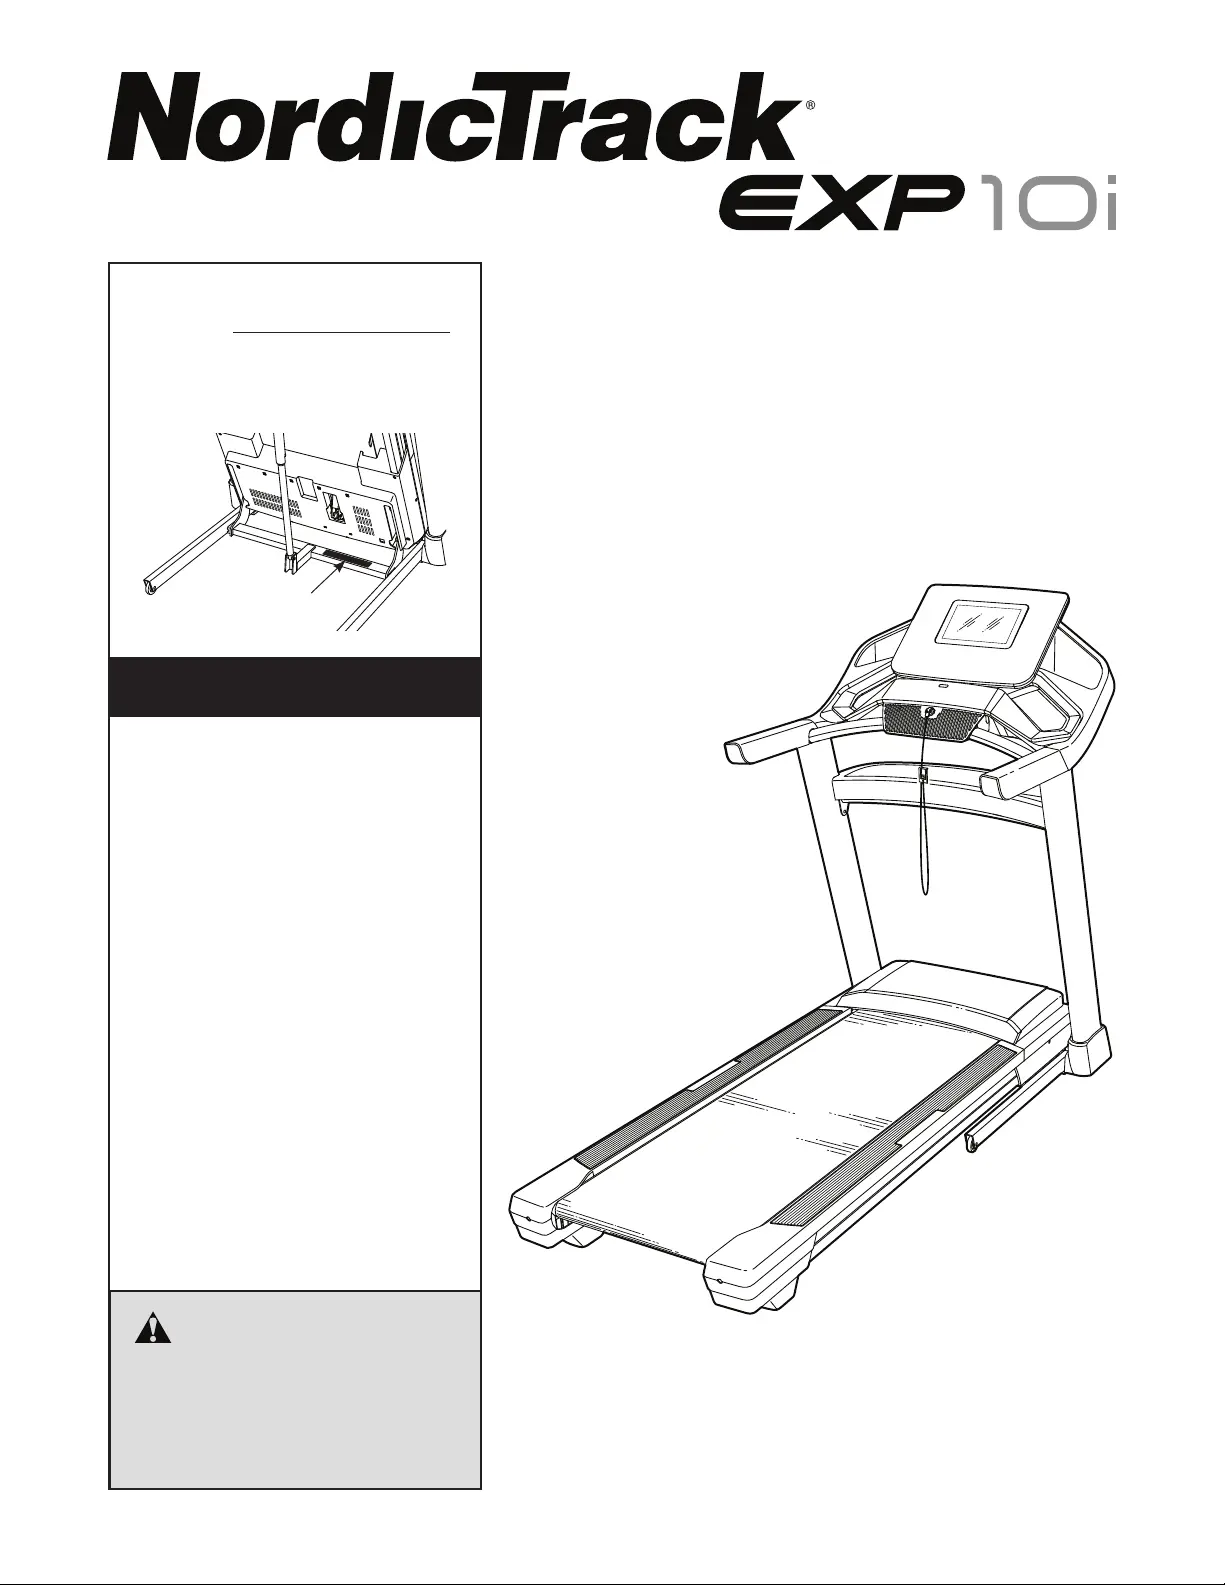
Serial Number
Decal
Model No. NTL15421-INT.4
Serial No.
Write the serial number in the space
above for reference.
USER’S MANUAL
CAUTION
Read all precautions and
instructions in this manual before
using this equipment. Keep this
manual for future reference.
MEMBER CARE
UNITED KINGDOM
Call: 0330 123 1045
From Ireland: 053 92 36102
Website: iconsupport.eu
E-mail: csuk@iconeurope.com
Write:
ICON Health & Fitness, Ltd.
Unit 4, Westgate Court
Silkwood Park
OSSETT
WF5 9TT
UNITED KINGDOM
AUSTRALIA
Call: 1800 993 770
E-mail: australiacc@iconfitness.com
Write:
iFIT Inc.
PO Box 635
WINSTON HILLS NSW 2153
AUSTRALIA
iconeurope.com
Tuotetiedot
| Merkki: | NordicTrack |
| Kategoria: | Juoksumatto |
| Malli: | EXP10i |
Tarvitsetko apua?
Jos tarvitset apua merkille NordicTrack EXP10i esitä kysymys alla ja muut käyttäjät vastaavat sinulle
Juoksumatto NordicTrack Käyttöohjeet

7 Tammikuuta 2025
7 Tammikuuta 2025
7 Tammikuuta 2025
7 Tammikuuta 2025
5 Tammikuuta 2025
25 Joulukuuta 2024
25 Joulukuuta 2024
Juoksumatto Käyttöohjeet
Viimeisimmät Juoksumatto Käyttöohjeet
9 Huhtikuuta 2025
9 Huhtikuuta 2025
9 Huhtikuuta 2025
2 Huhtikuuta 2025
27 Maaliskuuta 2025
19 Maaliskuuta 2025
20 Helmikuuta 2025
21 Tammikuuta 2025
7 Tammikuuta 2025
7 Tammikuuta 2025