Little Giant PE-1-PCP Käyttöohje
Little Giant Vesipumppu PE-1-PCP
Lue alta 📖 käyttöohje suomeksi merkille Little Giant PE-1-PCP (4 sivua) kategoriassa Vesipumppu. Tämä opas oli hyödyllinen 57 henkilölle ja sai 4.9 tähden keskimäärin 8 käyttäjältä
Sivu 1/4
INTRODUCTION
EN
This instruction sheet provides you with the information required to safely
own and operate your Little Giant product. Retain these instructions for future
reference.
The Little Giant product you have purchased is of the highest quality work-
manship and material, and has been engineered to give you long and reliable
service. Little Giant products are carefully tested, inspected, and packaged to
ensure safe delivery and operation. Please examine your item(s) carefully to
ensure that no damage occurred during shipment. If damage has occurred,
please contact the place of purchase. They will assist you in replacement or
repair, if required.
READ THESE INSTRUCTIONS CAREFULLY BEFORE ATTEMPTING TO
INSTALL, OPERATE, OR SERVICE YOUR LITTLE GIANT PRODUCT.
KNOW THE PRODUCT’S APPLICATION, LIMITATIONS, AND POTENTIAL
HAZARDS. PROTECT YOURSELF AND OTHERS BY OBSERVING
ALL SAFETY INFORMATION. FAILURE TO COMPLY WITH THESE
INSTRUCTIONS COULD RESULT IN PERSONAL INJURY AND/OR
PROPERTY DAMAGE!
SAFETY GUIDELINES
Make certain that the unit is disconnected from the power source before
attempting to service or remove any component.
Do not use to pump flammable or explosive fluids such as gasoline, fuel oil,
kerosene, etc. Do not use in explosive atmospheres. Pump should only be
used with liquids compatible with pump component materials.
Do not handle pump with wet hands or when standing on a wet or damp sur-
face or in water.
Do not pull the pump out of the water by the power cord when the pump is
operating or connected to power source.
This pump is supplied with a grounding conductor and/or grounding type
attachment plug. To reduce the risk of electric shock, be certain that it is
connected to a properly grounded grounding type receptacle protected by a
ground fault circuit interrupter.
In any installation where property damage and/or personal injury might result
from an inoperative or leaking pump due to power outages, discharge line
blockage, or any other reason, a backup system(s) and/or alarm should be
used.
Support pump and piping when assembling and when installed. Failure to do
so may cause piping to break, pump to fall, motor bearing failures, etc.
The National Electric Code (in the USA) and similar codes in other countries
require a Ground Fault Circuit Interrupter (GFCI) to be installed in the branch
circuit supplying fountain equipment rated above 15 volts.
This pump is intended for draining swimming pool covers only and should not
be used if there are people in the pool.
ELECTRICAL CONNECTIONS
1. Check the pump label for proper voltage required. Do not connect to voltage
other than that shown.
2. If pump is supplied with a 3-prong electrical plug, the third prong is to ground
the pump to prevent possible electrical shock hazard. DO NOT REMOVE the
third prong from the plug. Do not shorten the cord or cut the plug from the
cord; this will void the warranty.
3. If the cord is equipped with stripped lead wires, such as on 230v models,
be sure that the lead wires are connected to a power source correctly. The
green/yellow wire is the ground, and the other two are live.
OPERATION
1. This pump must be operated with the volute intake below the liquid level.
2. This pump can be placed in any position.
3. The volute on this pump can be rotated 90° to allow for different pump
orientations. To rotate the volute, remove the three volute screws (item 2).
Remove and rotate the volute and gasket and reinstall the three screws in
the additional holes in the front of the pump housing.
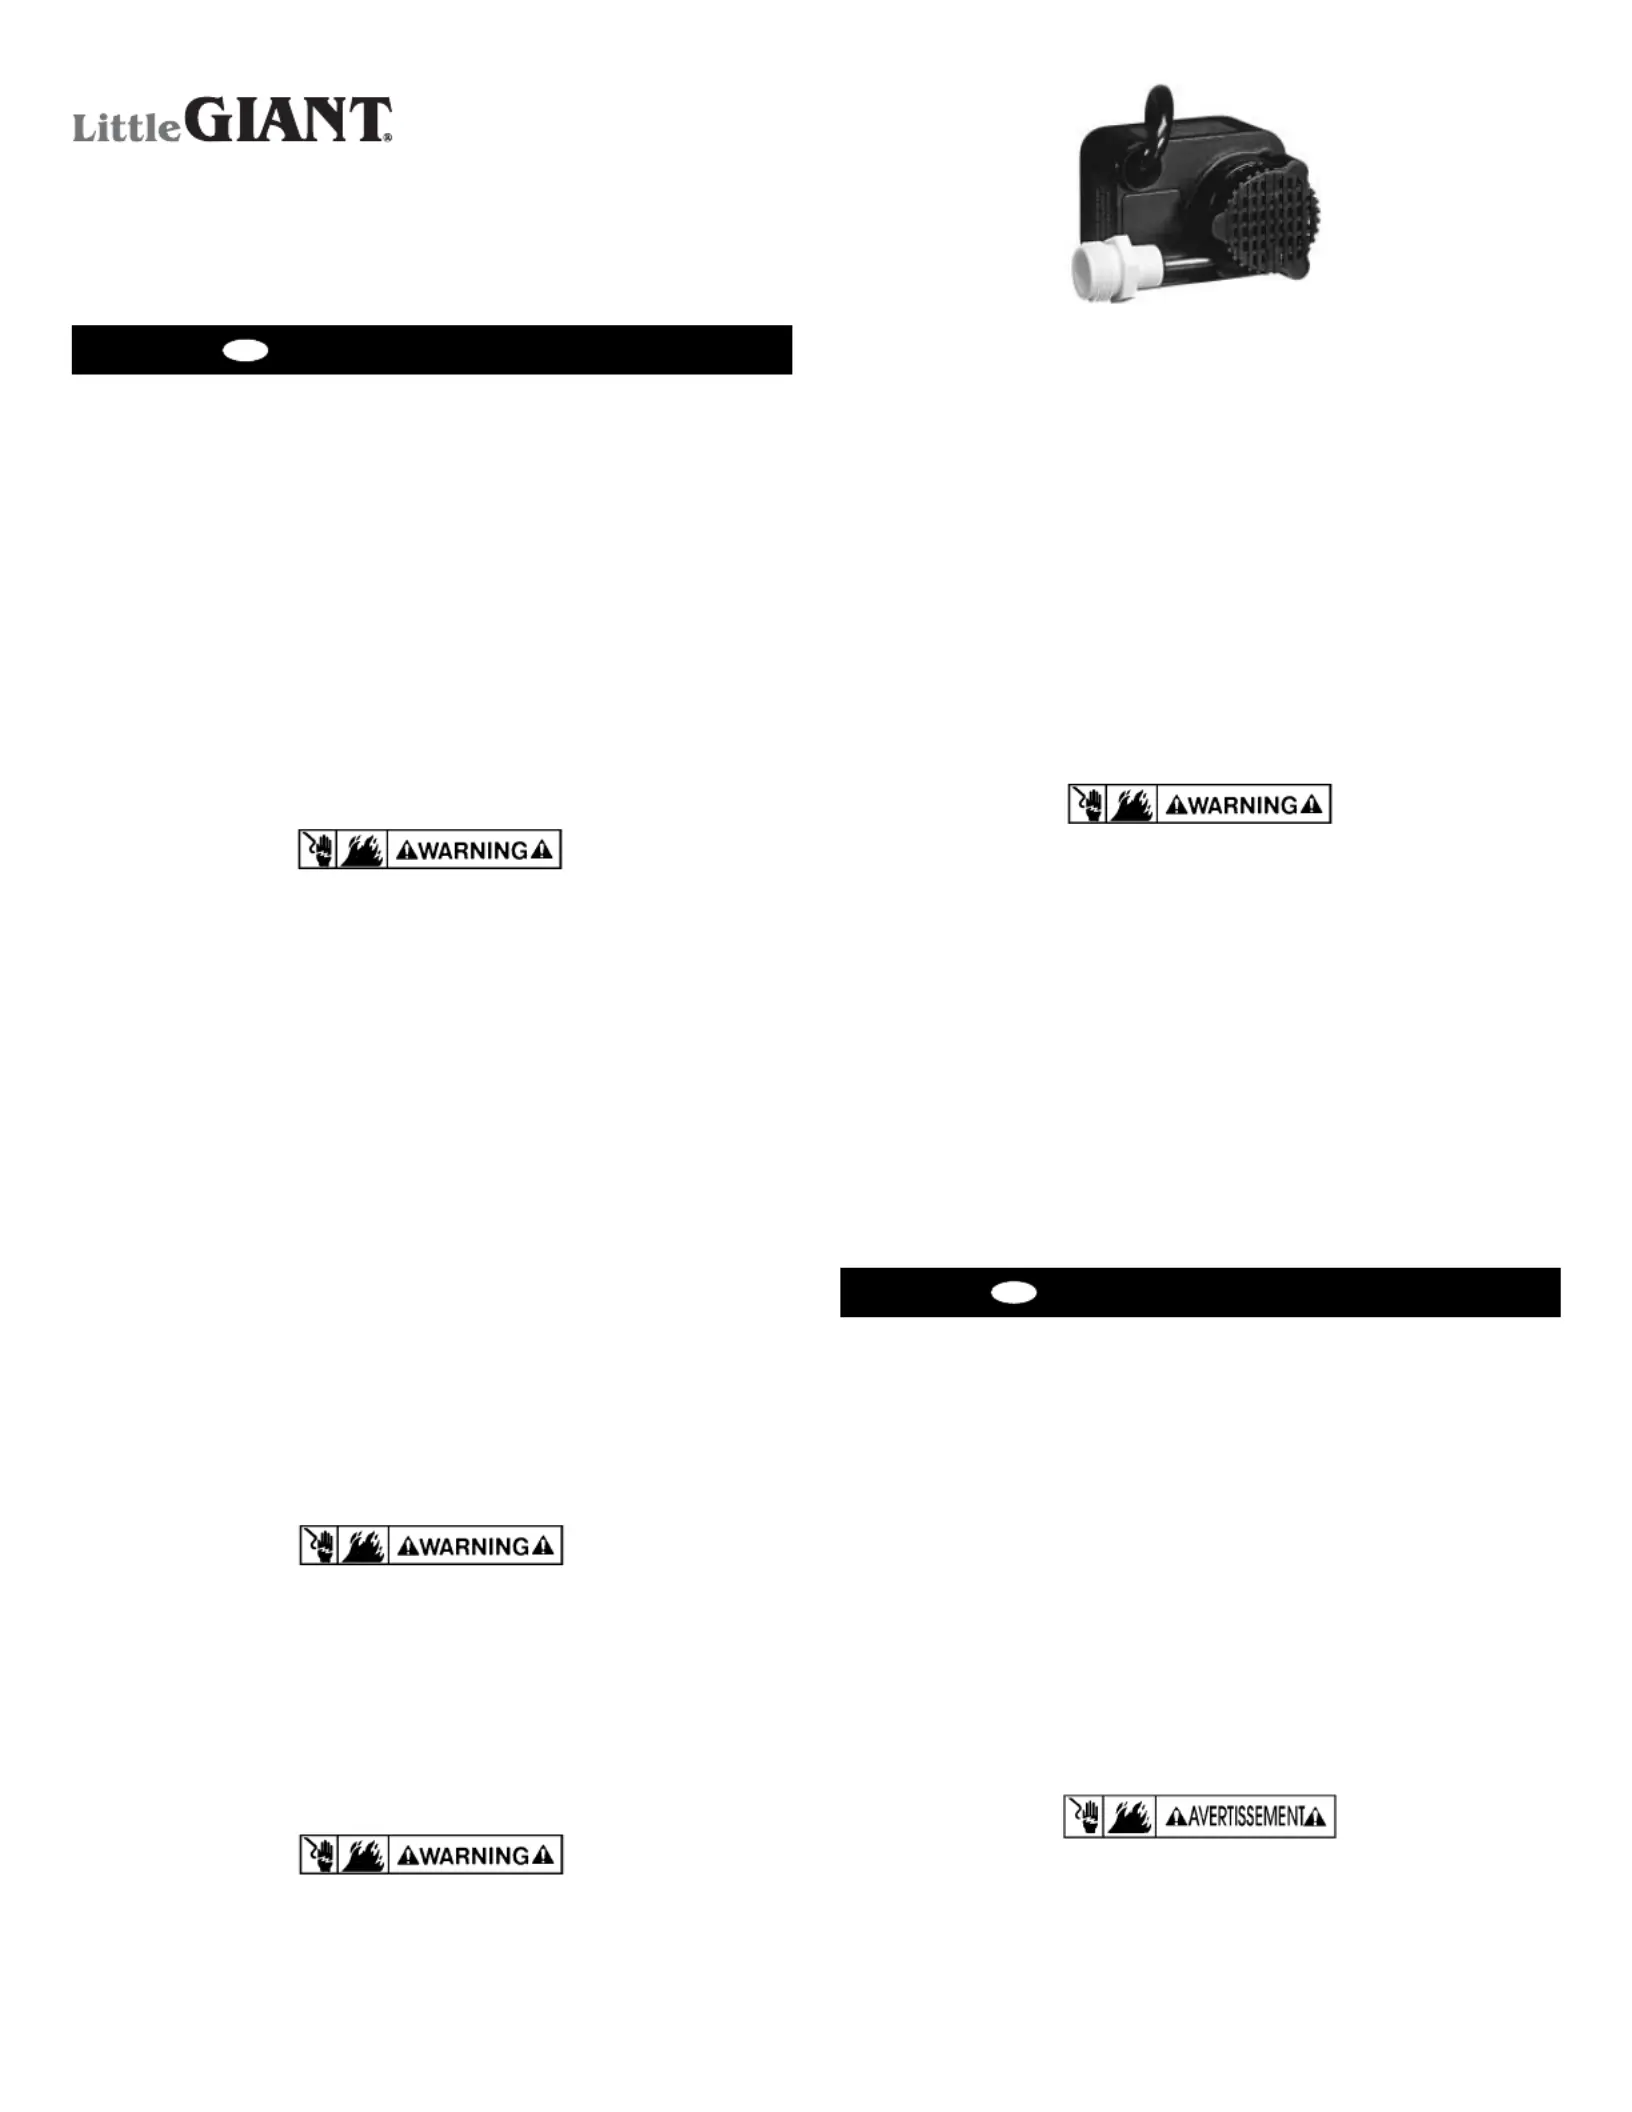
SMALL SUBMERSIBLE
ENCAPSULATED PUMP
PE-1-PCP
NOTE: DO NOT USE EXCESSIVE TORQUE ON THE VOLUTE SCREWS;
THIS COULD CAUSE THE HOLES TO STRIP.
4. The weight of the pump must be supported adequately. DO NOT support the
pump by the discharge connection alone. Pump may be supported by using
the two mounting holes in the back of the pump. The holes are designed for
#8 self-tapping screws. DO NOT exceed the hole depth of .37".
5. Do not restrict the intake side of the pump; this may cause damage to the
seal and may starve the pump. If you require reduced flow rates, place a
valve on the discharge side of the pump or, if flexible vinyl tubing is used,
a clamp on the tubing to restrict the flow.
6. Do not let the unit operate dry. It is designed to be cooled by pumping fluid.
You may damage the seal and the motor may fail if the pump is allowed to
run dry.
7. If the unit is going to be idle for a period of time, follow the cleaning instruc-
tions outlined in the SERVICE INSTRUCTIONS section. Do not let the unit
freeze in the wintertime. This may cause cracking or distortion that may
destroy the unit.
SERVICE INSTRUCTIONS
MAKE CERTAIN THAT THE UNIT IS DISCONNECTED FROM THE POWER
SOURCE BEFORE ATTEMPTING TO SERVICE OR REMOVE ANY
COMPONENT!
1. This unit is permanently lubricated. Oiling is not required. The power cord
cannot be replaced. In case of damage the whole unit must be replaced.
2. Remove the intake screen from the pump. (Screen is snapped on and can be
removed by pulling.) Then remove the three screws that attach the volute.
3. Lightly clean any corrosion or debris which may clog the impeller. Use a brush
and penetrating oil and lightly scrape to remove encrusted material.
4. Turn the impeller by hand to make sure it turns freely. Set pump down so the
pump and impeller are not touching anything. Plug the unit into GFCI circuit
for 10 seconds to see if the impeller turns; a) If it is rotating and GFCI did not
trip, unplug unit and install parts in reverse order in which they were removed.
b) If it does not rotate, if pump is tripping circuit breakers, or not operating
properly after cleaning, return to Little Giant or its authorized service center.
DO NOT attempt repairs yourself.
5. Be certain power cord is in good condition and contains no nicks or cuts.
INTRODUCTION
FR
Cette feuille d’instructions vous fournit les informations nécessaires pour
entretenir et faire fonctionner votre produit Little Giant. Conserver ces directives
afin de pouvoir les consulter plus tard.
Le produit Little Giant que vous avez acheté a été soigneusement fabriqué avec
des matériaux de la plus haute qualité et a été conçu pour durer longtemps
et offrir un service fiable. Les produits Little Giant sont soigneusement testés,
inspectés et emballés afin d’en assurer la sécurité de fonctionnement et une
livraison en bonne condition. Vérifier attentivement le produit afin de vous
assurer qu’il n’a pas été endommagé pendant le transport. S’il est endom-
magé, veuillez contacter l’entreprise qui vous l’a vendu. Si une réparation ou
un remplacement est requis, elle vous prêtera assistance.
LIRE ATTENTIVEMENT CES DIRECTIVES AVANT DE PROCÉDER À
L’INSTALLATION, À L’UTILISATION OU À L’ENTRETIEN DU PRODUIT
LITTLE GIANT. SE FAMILIARISER AVEC LES APPLICATIONS, LES LIMITES
ET LES RISQUES POTENTIELS DU PRODUIT. ASSURER SA PROPRE
PROTECTION ET CELLE DES AUTRES EN SUIVANT TOUTES LES RÈGLES
DE SÉCURITÉ. LE NON-RESPECT DE CES DIRECTIVES PEUT ENTRAÎNER
DES BLESSURES ET/OU DES DOMMAGES MATÉRIELS!
DIRECTIVES DE SECURITE
Veiller à débrancher l’appareil de sa source d’alimentation électrique avant
l’entretien ou la dépose d’une ou de plusieurs piéces.
Ne pas pomper des fluides explosifs ou inflammables tels qu’essence, mazout,
kérosène, etc. Ne pas employer dans une atmosphère comportant des risques
de déflagration. La pompe ne doit servir qu’à pomper des liquides compatibles
avec les matériaux utilisés pour la fabrication des éléments qui la composent.
Ne pas manipuler la pompe les mains humides, les pieds posés sur une sur-
face mouillée ou humide, ou les pieds dans l’eau.
Franklin Electric Co., Inc.
P. O. Box 12010
Oklahoma City, OK 73157-2010
888.956.0000 • Fax: 405.947.8720
www.LittleGiantWater.com
CustomerService-WTS@fele.com
1
Tuotetiedot
| Merkki: | Little Giant |
| Kategoria: | Vesipumppu |
| Malli: | PE-1-PCP |
Tarvitsetko apua?
Jos tarvitset apua merkille Little Giant PE-1-PCP esitä kysymys alla ja muut käyttäjät vastaavat sinulle
Vesipumppu Little Giant Käyttöohjeet

1 Huhtikuuta 2025
15 Lokakuuta 2024
Vesipumppu Käyttöohjeet
Viimeisimmät Vesipumppu Käyttöohjeet
1 Huhtikuuta 2025
1 Huhtikuuta 2025
1 Huhtikuuta 2025
29 Maaliskuuta 2025
28 Maaliskuuta 2025
27 Maaliskuuta 2025
27 Maaliskuuta 2025
27 Maaliskuuta 2025
27 Maaliskuuta 2025
27 Maaliskuuta 2025