IFM SL1101 Käyttöohje
IFM
Mittauslaitteet
SL1101
Lue alta 📖 käyttöohje suomeksi merkille IFM SL1101 (3 sivua) kategoriassa Mittauslaitteet. Tämä opas oli hyödyllinen 8 henkilölle ja sai 5.0 tähden keskimäärin 4.5 käyttäjältä
Sivu 1/3

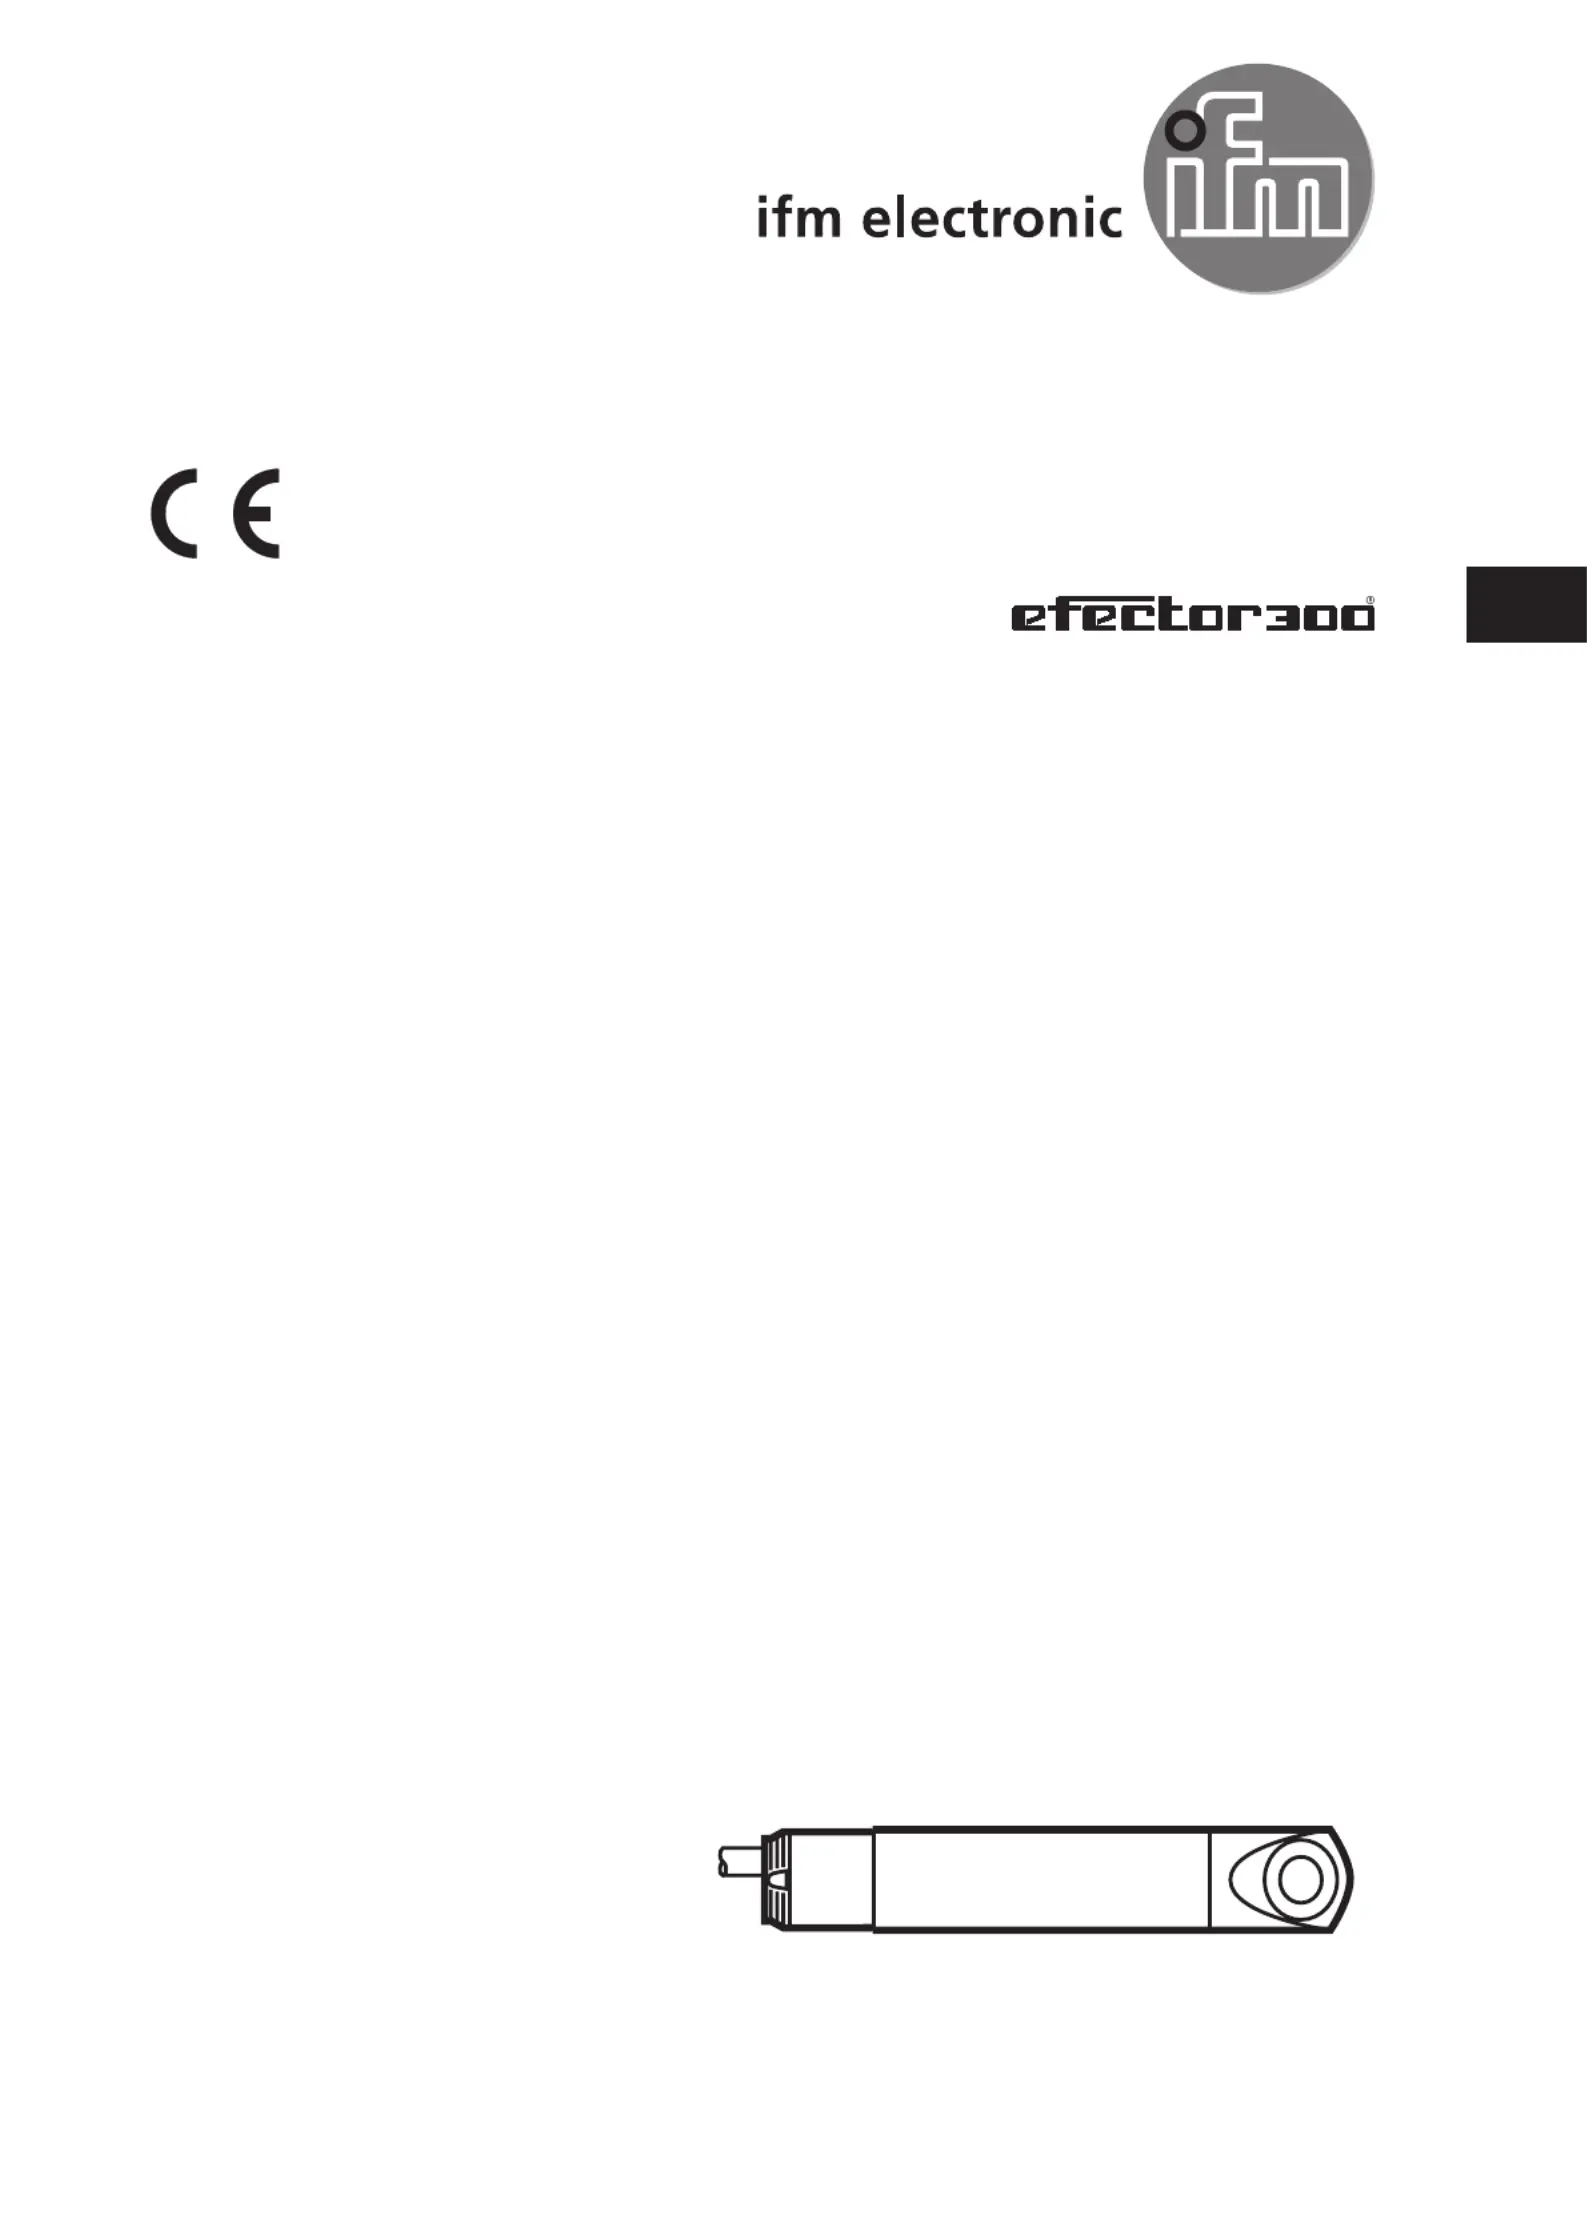
Installation Instructions
Airflow monitor
SLG
701064 / 04 05 / 2016
UK

2
1 Function and features
The airflow monitor monitors airflows. It senses whether there is a preset airflow
(= green LED lights, output relay energised for NO function, de-energised for NC
function).
If the flow is below the preset value, the red LED lights. The output relay is de-
energised for NO function and energised for NC function.
• Setting range 1 m/s to 10 m/s.
• Start-up delay of 3 s ... 60 s (to suppress short-time fluctuations), depending on
the preset value
2 Mounting
Protect the units and the cables efficiently against damage.
Mount the airflow monitor by means of the mounting clamp provided. Diameter of
the mounting hole for the unit: 24 mm. If mounting is to be airtight, use the gasket
provided. The sensing head must be completely immersed into the airflow and
should be in the range of the highest flow velocity, if possible. Installation depth:
min. 32 mm, max. 120 mm.
min. 32 mm max. 120 mm
Align the unit in the airflow; the arrow on the cap must point in the direction of flow.
arrow
(must be at the top)
Poti
Poti
LEDs
LEDs
arrow

3
UK
To avoid malfunction a minimum
distance between the air flow moni-
tor and bends, valves or such like
must be observed.
min.
5 x D
min.
3 x D
D
3 Electrical connection
The unit must only be connected by an electrician.
The national and international regulations for the installation of electrical
equipment must be observed.
Voltage supply for units up to 60 V to EN50178, SELV, PELV.
Insert a miniature fuse according to the technical data sheet, if specified.
►Disconnect power.
►Connect the unit according to the indications on the type label.
4 Adjustment
setting potentiometer
sensitivity
LEDs
1
►Apply the operating voltage.
►Switch on the flow (preset value) and keep it constant.
→ Both LEDs (red and green) light; after approx. 60s one LED goes off.
2
If the red LED lights:
►turn the pot slowly clock-
wise until the red LED
goes off and the green
LED comes on.
If the green LED lights:
►turn the pot slowly anticlockwise until the green
LED goes off and the red LED comes on.
►Turn the pot again slowly clockwise until the green
LED comes on.
3
If fluctuations as a result of the operating conditions are to be compensated for:
►turn the pot further clockwise after the green LED has lit.
After application of the supply voltage both LEDs light for about 60 s, the output relay is
energised (power-on delay time). The unit then is ready for operation.
Tuotetiedot
Merkki: | IFM |
Kategoria: | Mittauslaitteet |
Malli: | SL1101 |
Tarvitsetko apua?
Jos tarvitset apua merkille IFM SL1101 esitä kysymys alla ja muut käyttäjät vastaavat sinulle
Mittauslaitteet IFM Käyttöohjeet
5 Joulukuuta 2024
5 Joulukuuta 2024
5 Joulukuuta 2024
5 Joulukuuta 2024
5 Joulukuuta 2024
5 Joulukuuta 2024
5 Joulukuuta 2024
5 Joulukuuta 2024
5 Joulukuuta 2024
5 Joulukuuta 2024
Mittauslaitteet Käyttöohjeet
- Mittauslaitteet Kern
- Mittauslaitteet EBERLE
- Mittauslaitteet Siglent
- Mittauslaitteet Beha-Amprobe
- Mittauslaitteet Megger
- Mittauslaitteet Mitutoyo
- Mittauslaitteet PCE
- Mittauslaitteet Kogan
- Mittauslaitteet Ideal
- Mittauslaitteet Festo
- Mittauslaitteet Elgato
- Mittauslaitteet TFA
- Mittauslaitteet Sauter
- Mittauslaitteet Kyoritsu
- Mittauslaitteet Tempo
Viimeisimmät Mittauslaitteet Käyttöohjeet
3 Huhtikuuta 2025
3 Huhtikuuta 2025
3 Huhtikuuta 2025
3 Huhtikuuta 2025
3 Huhtikuuta 2025
3 Huhtikuuta 2025
3 Huhtikuuta 2025
3 Huhtikuuta 2025
3 Huhtikuuta 2025
3 Huhtikuuta 2025