Cuisinart AIR-160 Käyttöohje
Cuisinart Rasvakeitin AIR-160
Lue alta 📖 käyttöohje suomeksi merkille Cuisinart AIR-160 (44 sivua) kategoriassa Rasvakeitin. Tämä opas oli hyödyllinen 48 henkilölle ja sai 4.8 tähden keskimäärin 9 käyttäjältä
Sivu 1/44
AIR-160
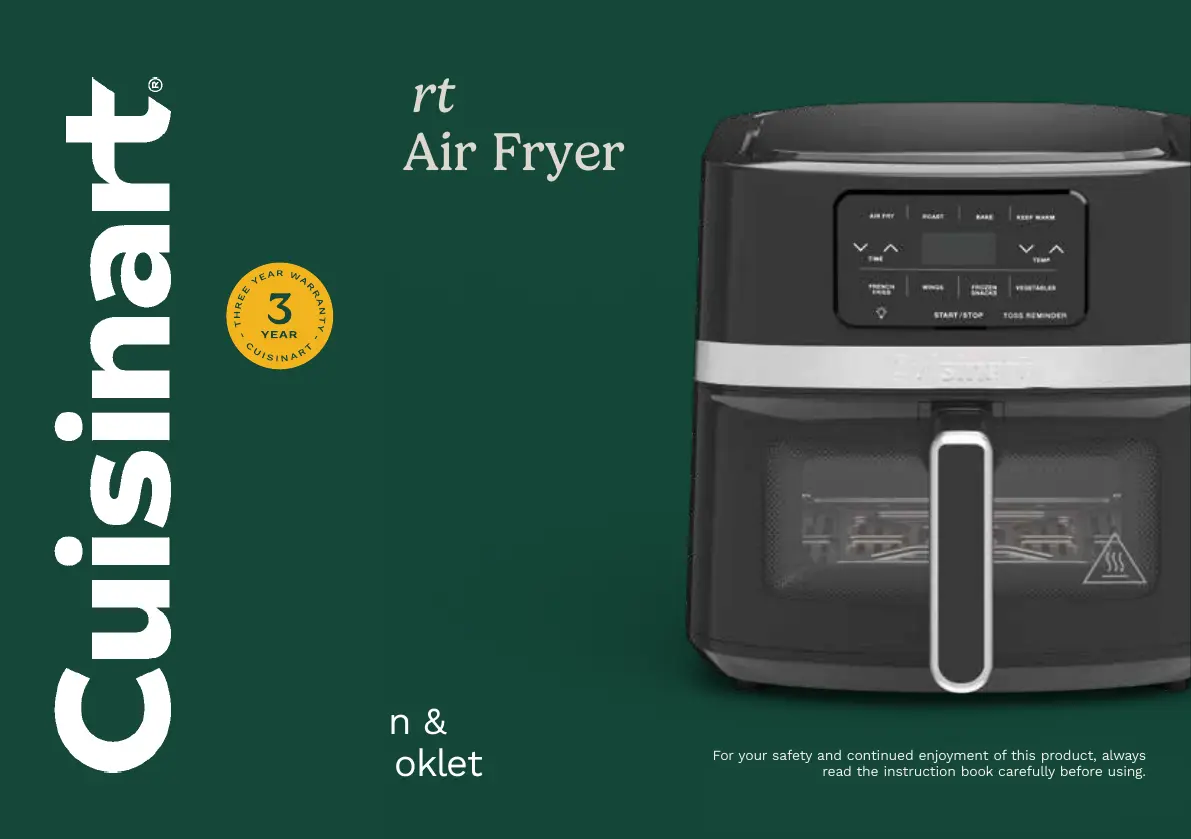
Instruction &
Recipe Booklet
Foryour safety and continued enjoyment ofthis product, always
read the instruction book carefully before using.
4.5-Quart
Basket Air Fryer
Tuotetiedot
| Merkki: | Cuisinart |
| Kategoria: | Rasvakeitin |
| Malli: | AIR-160 |
Tarvitsetko apua?
Jos tarvitset apua merkille Cuisinart AIR-160 esitä kysymys alla ja muut käyttäjät vastaavat sinulle
Rasvakeitin Cuisinart Käyttöohjeet

5 Tammikuuta 2025
5 Tammikuuta 2025
Rasvakeitin Käyttöohjeet
Viimeisimmät Rasvakeitin Käyttöohjeet
2 Huhtikuuta 2025
14 Maaliskuuta 2025
12 Maaliskuuta 2025
10 Maaliskuuta 2025
10 Maaliskuuta 2025
10 Maaliskuuta 2025
10 Maaliskuuta 2025
10 Maaliskuuta 2025
10 Maaliskuuta 2025
10 Maaliskuuta 2025