CRUX WVICH-03M Käyttöohje
CRUX Ei luokiteltu WVICH-03M
Lue alta 📖 käyttöohje suomeksi merkille CRUX WVICH-03M (5 sivua) kategoriassa Ei luokiteltu. Tämä opas oli hyödyllinen 41 henkilölle ja sai 4.8 tähden keskimäärin 7 käyttäjältä
Sivu 1/5
WVICH-03M MODULEWVICH-03M HARNESS
Crux Interfacing Solutions • Chatsworth, CA 91311
phone: (818) 609-9299 • fax: (818) 996-8188 • www.cruxinterfacing.com
rev.0312211 of 5
- Enables wireless (Wi-Fi) Audio/Video mirroring from mobile devices to the OEM screen.
- Provides an audio/video input which can also be used to add a camera.
- Includes a USB input to play audio and video les.
- Provides a virtual remote control via a smartphone wi connection.
- Dual band (5GHz and 2.4GHz) Wi capability for clear connection.
- Includes HMDI output for high quality video.
- Works with Facetime, Maps, Skype, YouTube, and other apps.
PRODUCT FEATURES:
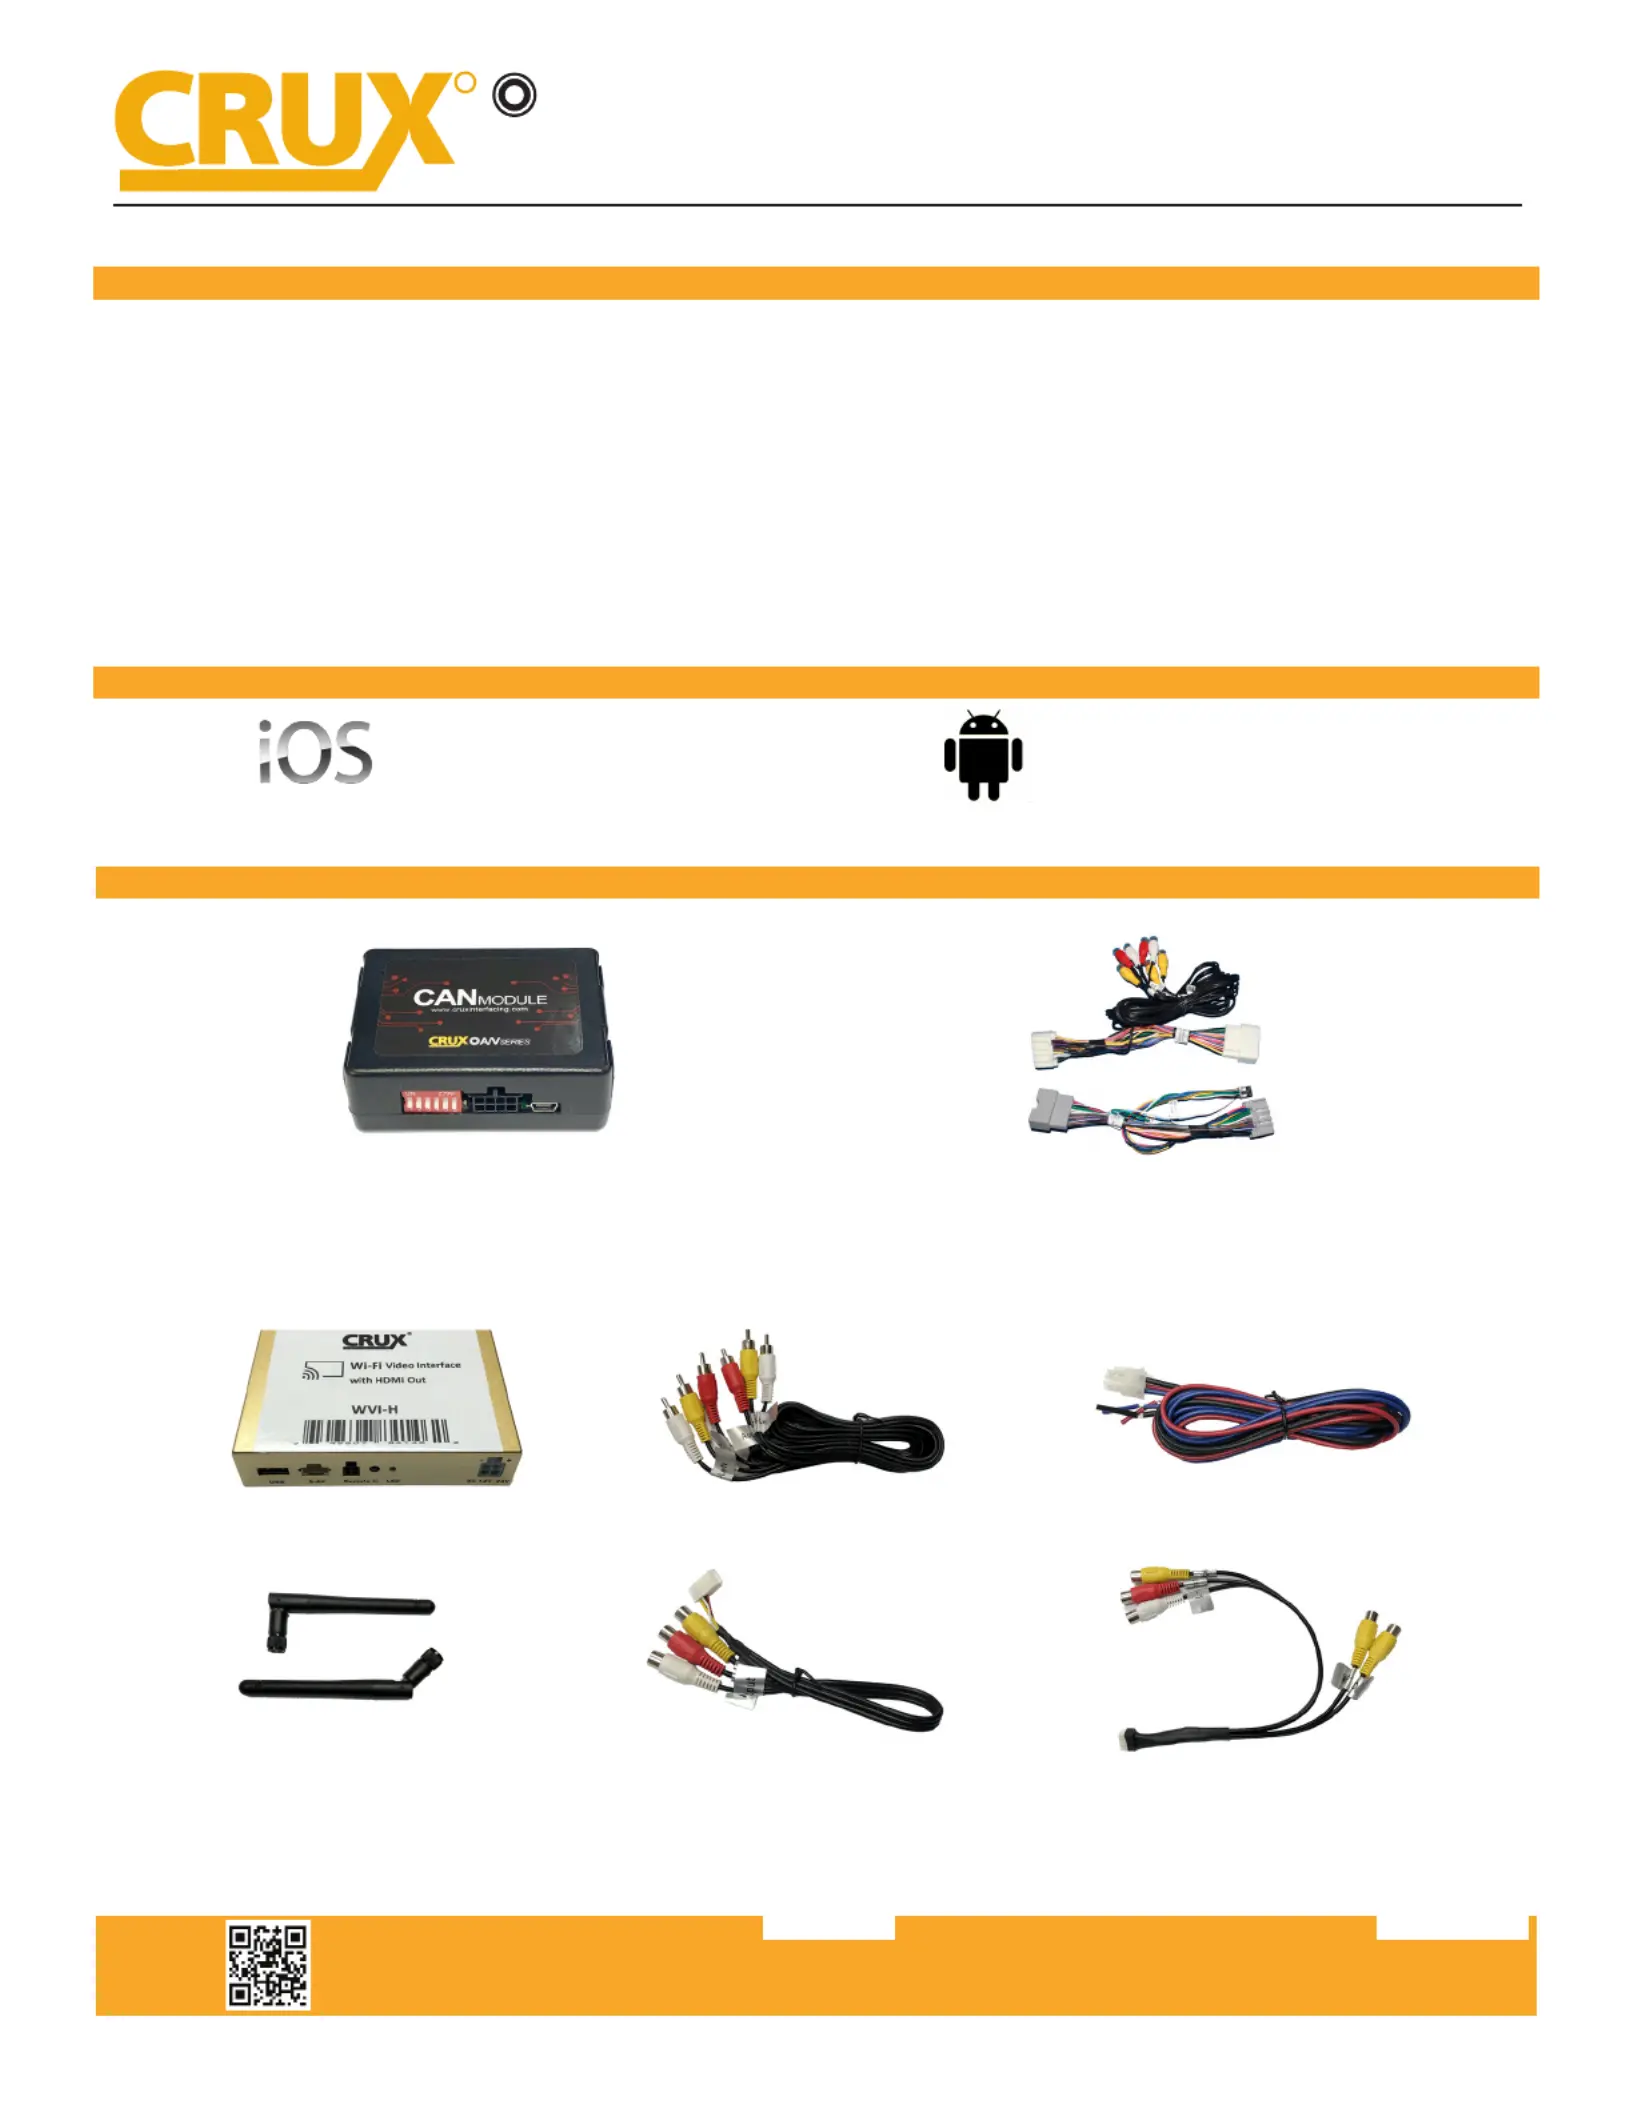
PARTS INCLUDED:
WVICH-03M
Wi Connectivity Integration and Audio Video Interface
for Select Chrysler, Dodge & Jeep Vehicles with MyGig Radio
R
INTERFACING SOLUTIONS
A/V
SERIES
WVI-H WiFi ModuleExtension AV CablePower Harness
Dual AntennasWiFi AV Out HarnessAV In / Video Out Harness
WORKS WITH:
iOS 7 and newer
OS 4.2 and newer
Tuotetiedot
| Merkki: | CRUX |
| Kategoria: | Ei luokiteltu |
| Malli: | WVICH-03M |
Tarvitsetko apua?
Jos tarvitset apua merkille CRUX WVICH-03M esitä kysymys alla ja muut käyttäjät vastaavat sinulle
Ei luokiteltu CRUX Käyttöohjeet

10 Maaliskuuta 2025
10 Maaliskuuta 2025
10 Maaliskuuta 2025
10 Maaliskuuta 2025
10 Maaliskuuta 2025
10 Maaliskuuta 2025
10 Maaliskuuta 2025
10 Maaliskuuta 2025
10 Maaliskuuta 2025
10 Maaliskuuta 2025
Ei luokiteltu Käyttöohjeet
Viimeisimmät Ei luokiteltu Käyttöohjeet
9 Huhtikuuta 2025
9 Huhtikuuta 2025
9 Huhtikuuta 2025
9 Huhtikuuta 2025
9 Huhtikuuta 2025
9 Huhtikuuta 2025
9 Huhtikuuta 2025
9 Huhtikuuta 2025
9 Huhtikuuta 2025
9 Huhtikuuta 2025