Chief Kontour KRA300B Käyttöohje
Chief Ei luokiteltu Kontour KRA300B
Lue alta 📖 käyttöohje suomeksi merkille Chief Kontour KRA300B (11 sivua) kategoriassa Ei luokiteltu. Tämä opas oli hyödyllinen 54 henkilölle ja sai 4.9 tähden keskimäärin 8 käyttäjältä
Sivu 1/11
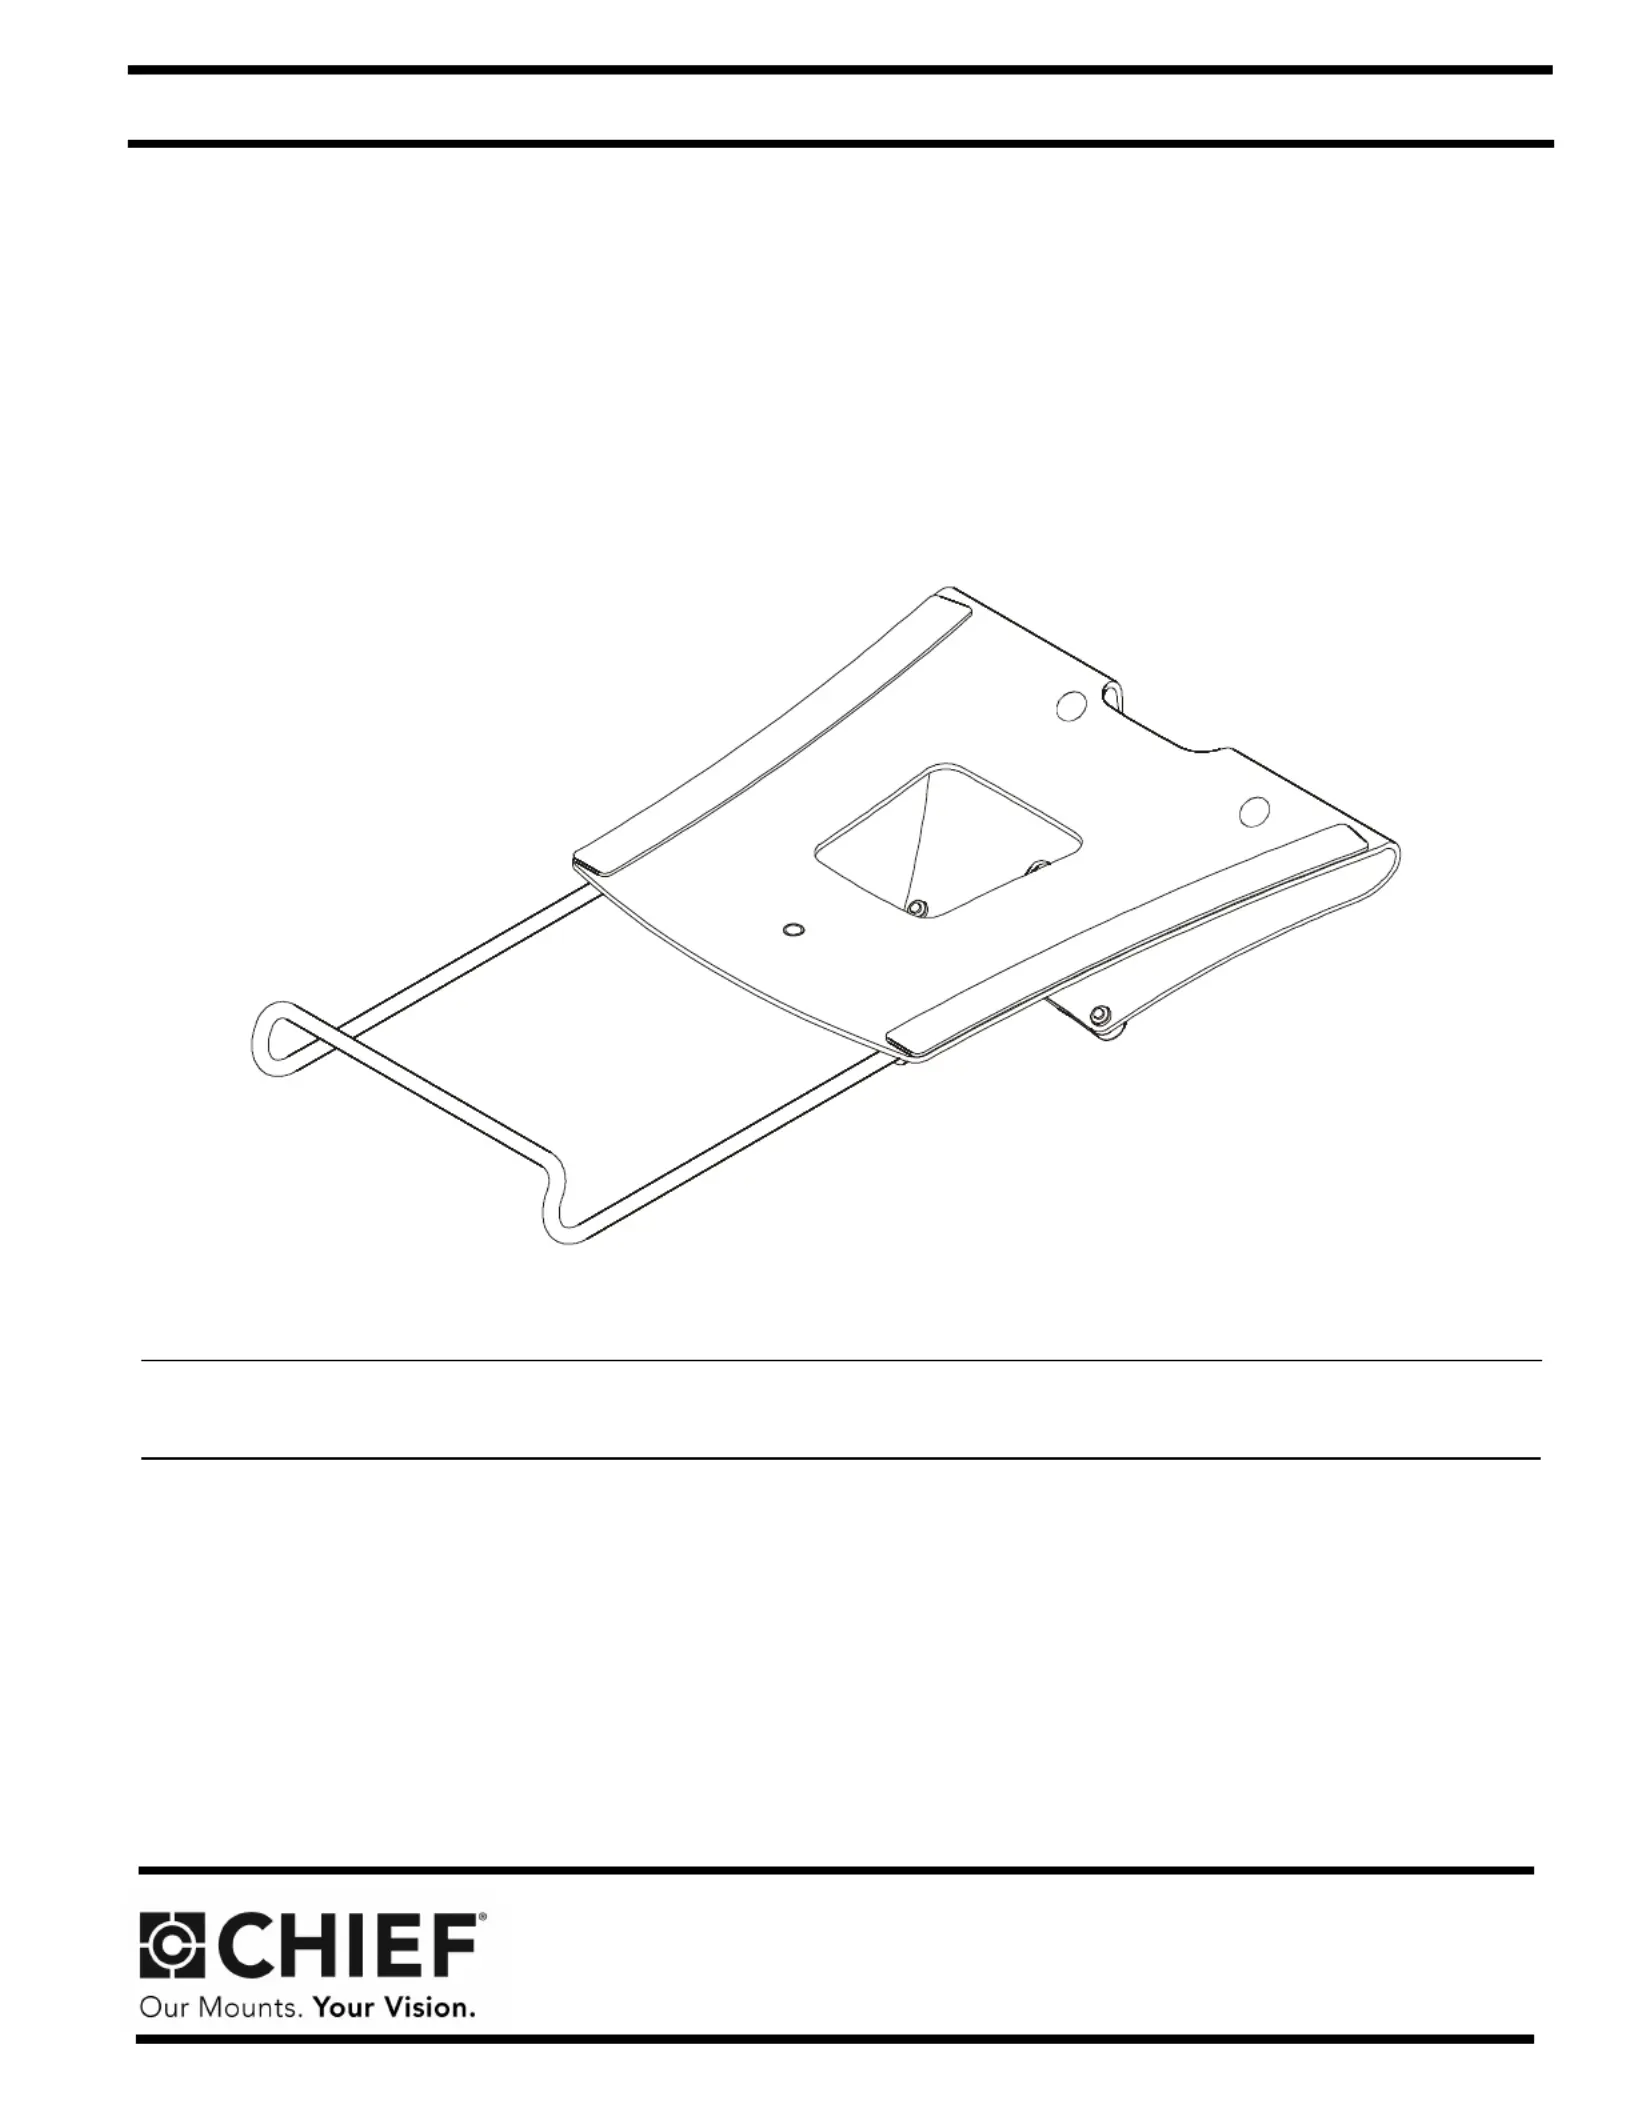
INSTALLATION INSTRUCTIONS
Instrucciones de instalación
Installationsanleitung
Instruções de Instalação
Istruzioni di installazione
Installatie-instructies
Instructions d´installation
Laptop Tray
Spanish Product Description
German Product Description
Portuguese Product Description
Italian Product Description
Dutch Product Description
French Product Description
KRA300
Tuotetiedot
| Merkki: | Chief |
| Kategoria: | Ei luokiteltu |
| Malli: | Kontour KRA300B |
Tarvitsetko apua?
Jos tarvitset apua merkille Chief Kontour KRA300B esitä kysymys alla ja muut käyttäjät vastaavat sinulle
Ei luokiteltu Chief Käyttöohjeet

3 Huhtikuuta 2025
3 Huhtikuuta 2025
2 Huhtikuuta 2025
28 Tammikuuta 2025
16 Tammikuuta 2025
16 Tammikuuta 2025
15 Tammikuuta 2025
15 Tammikuuta 2025
15 Tammikuuta 2025
15 Tammikuuta 2025
Ei luokiteltu Käyttöohjeet
Viimeisimmät Ei luokiteltu Käyttöohjeet
9 Huhtikuuta 2025
9 Huhtikuuta 2025
9 Huhtikuuta 2025
9 Huhtikuuta 2025
9 Huhtikuuta 2025
9 Huhtikuuta 2025
9 Huhtikuuta 2025
9 Huhtikuuta 2025
9 Huhtikuuta 2025
9 Huhtikuuta 2025