Boss GM-800 Käyttöohje
Boss Ei luokiteltu GM-800
Lue alta 📖 käyttöohje suomeksi merkille Boss GM-800 (22 sivua) kategoriassa Ei luokiteltu. Tämä opas oli hyödyllinen 57 henkilölle ja sai 4.6 tähden keskimäärin 3 käyttäjältä
Sivu 1/22
Reference Manual
An overview of the GM-800 .............................2
Sound structure of the GM-800 ...............................2
What is “serial GK”? .........................................2
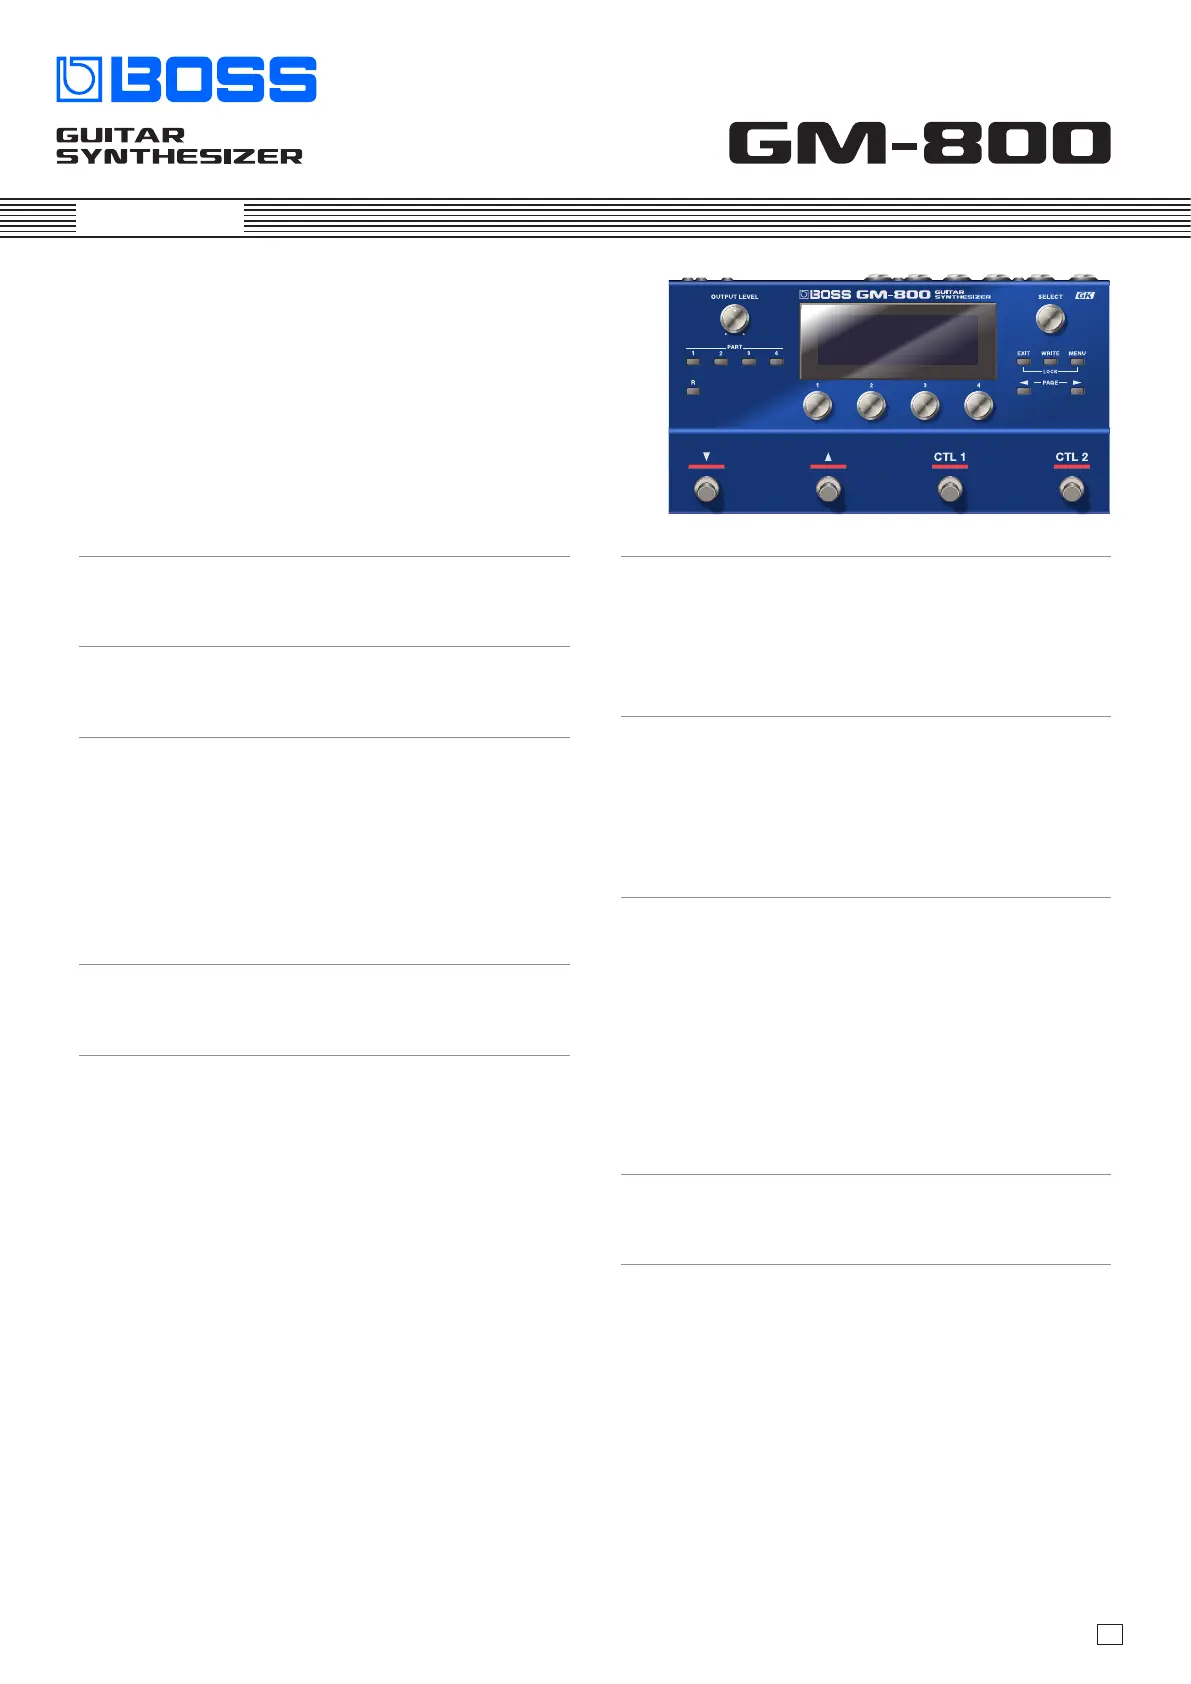
Panel descriptions ......................................3
Front panel .................................................3
Rear panel (connecting your equipment) ......................4
Getting ready ..........................................6
Getting your guitar/bass ready ...............................6
Connecting the equipment ..................................6
Turning the power on .......................................6
Selecting devices to connect to the output jacks (OUTPUT
SELECT) ....................................................6
Conguring the pickup settings (GK SETTINGS) ................7
Adjusting the volume .......................................8
Using the tuner .............................................8
Playing ................................................9
Select a scene ..............................................9
About the play screen ......................................9
Editing the parts ......................................10
Basic operations for editing a part ..........................10
Switching the parts on/o ................................10
Selecting a tone for a part (TONE SELECT) ...................10
Adjusting the volume of a part (TONE SELECT) ..............10
Adjusting the tone of a part (TONE MODIFY) ................10
Changing the eect for a part (MFX) ........................10
Editing a part’s settings for each string (STRING) .............11
Copying the settings of another part (PART COPY) ...........11
Editing the scenes .....................................12
Conguring the scene parameters (SCENE EDIT) .............12
Conguring the control assignments (CONTROL ASSIGN) .....12
Setting the functions (CONTROL FUNCTION) ................12
Conguring the functions (ASSIGN SETTINGS) ...............13
Saving a scene (WRITE) ...................................13
Editing the system settings. . . . . . . . . . . . . . . . . . . . . . . . . . . . .14
Basic MENU operations ....................................14
Assigning the desired parameters to knobs [1]–[4] (KNOB
SETTINGS). . . . . . . . . . . . . . . . . . . . . . . . . . . . . . . . . . . . . . . . . . . . . . . . 14
Adjusting the contrast (brightness) of the display ............14
Restoring the factory settings (factory reset) ................15
Turning o the auto o function ...........................15
Connecting external devices ...........................16
Connecting a computer (USB COMPUTER port) ..............16
Installing the dedicated driver .............................16
Using this unit as an audio interface ........................16
Using the GM-800’s dedicated software .....................16
Connecting a USB ash drive (USB MEMORY port) ...........16
Formatting a USB ash drive (FORMAT USB MEMORY) ........16
Backing up data to a USB ash drive (BACKUP) ...............17
Restoring backed-up data (RESTORE) .......................17
Importing a tone (IMPORT) ................................18
Installing a WAVE EXPANSION (EXPANSION) .................18
Connecting with an external MIDI device ................20
Operations from the GM-800 ...............................20
Operations from an external MIDI device ....................20
Main specications ....................................21
© 2023 Roland Corporation
Before using this unit, carefully read “USING THE UNIT SAFELY” and “IMPORTANT NOTES” (leaet “USING THE UNIT SAFELY” and Quick Start). After
reading, keep the document(s) where it will be available for immediate reference.
01
Tuotetiedot
| Merkki: | Boss |
| Kategoria: | Ei luokiteltu |
| Malli: | GM-800 |
Tarvitsetko apua?
Jos tarvitset apua merkille Boss GM-800 esitä kysymys alla ja muut käyttäjät vastaavat sinulle
Ei luokiteltu Boss Käyttöohjeet

26 Helmikuuta 2025
23 Tammikuuta 2025
18 Tammikuuta 2025
31 Joulukuuta 2025
31 Joulukuuta 2025
31 Joulukuuta 2025
31 Joulukuuta 2025
13 Joulukuuta 2024
13 Joulukuuta 2024
13 Joulukuuta 2024
Ei luokiteltu Käyttöohjeet
Viimeisimmät Ei luokiteltu Käyttöohjeet
9 Huhtikuuta 2025
9 Huhtikuuta 2025
9 Huhtikuuta 2025
9 Huhtikuuta 2025
9 Huhtikuuta 2025
9 Huhtikuuta 2025
9 Huhtikuuta 2025
9 Huhtikuuta 2025
9 Huhtikuuta 2025
9 Huhtikuuta 2025