Joy-it RB-Proto+ Käyttöohje
Joy-it Ei luokiteltu RB-Proto+
Lue alta 📖 käyttöohje suomeksi merkille Joy-it RB-Proto+ (4 sivua) kategoriassa Ei luokiteltu. Tämä opas oli hyödyllinen 30 henkilölle ja sai 4.6 tähden keskimäärin 8 käyttäjältä
Sivu 1/4
JoyIT powered by SIMAC Electronics GmbH Pascalstr. 8 47506 NeukirchenVluyn www.joyit.net------
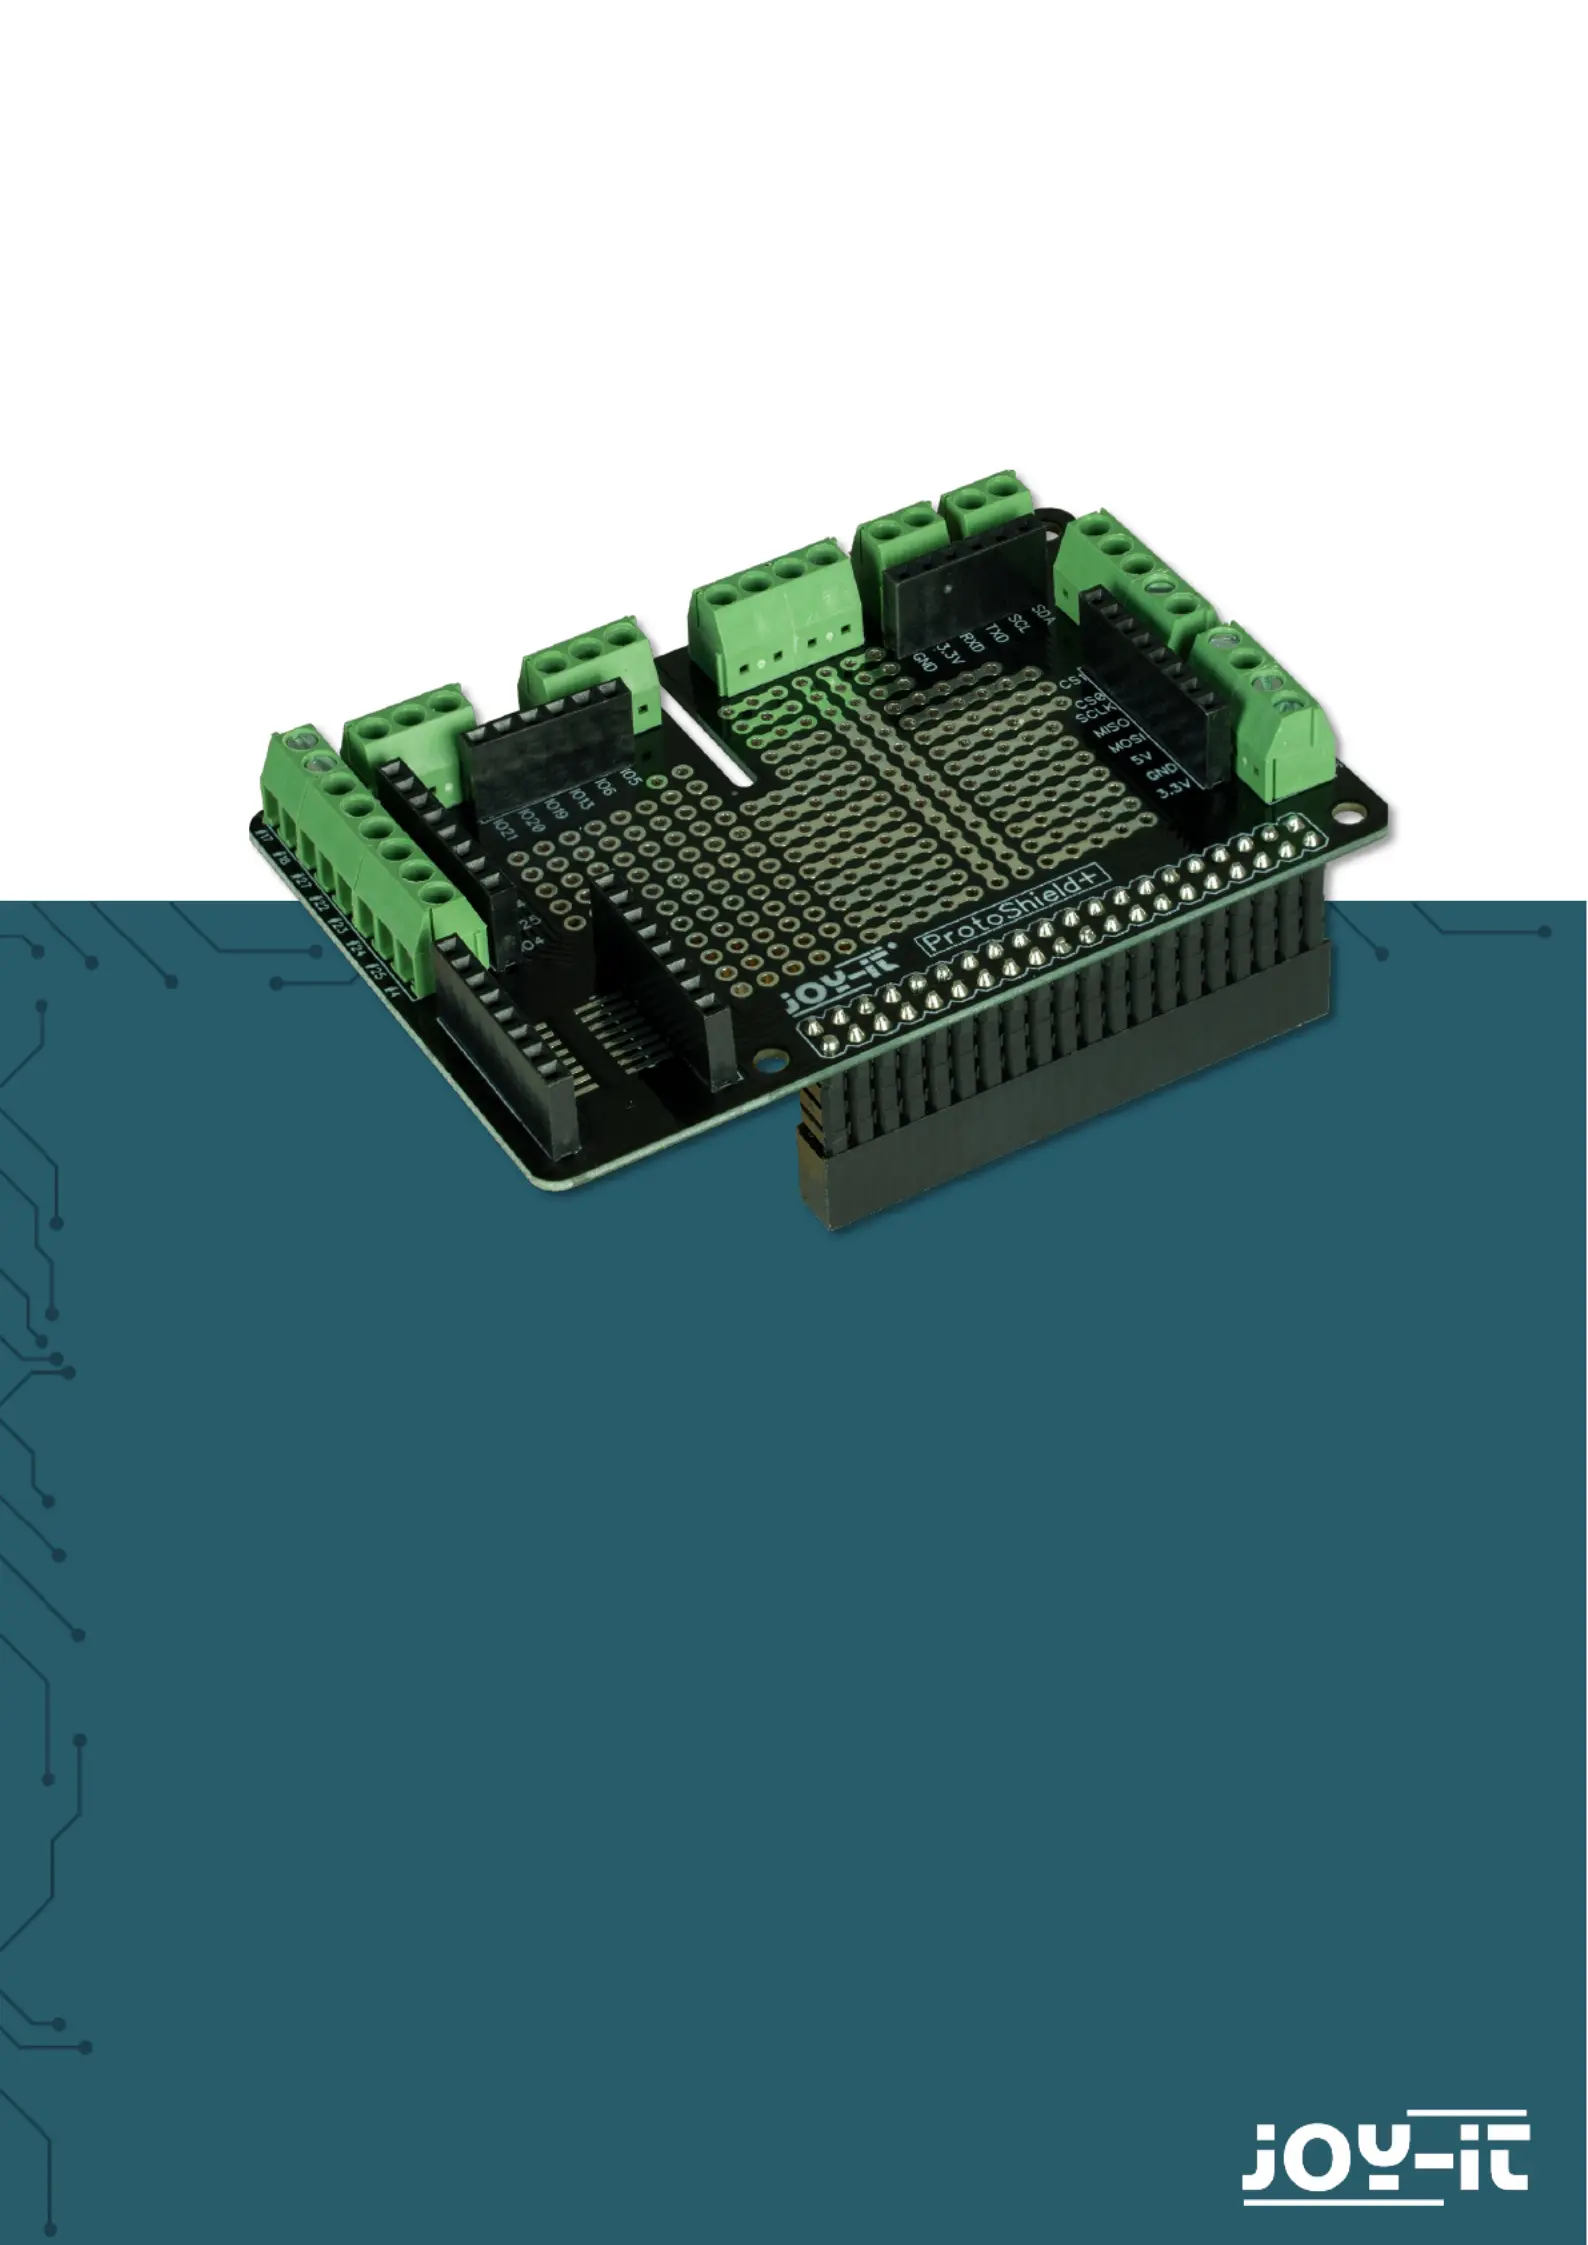
RB-PROTO+
Prototype expansion board for plugging directly onto the
Pi
Tuotetiedot
| Merkki: | Joy-it |
| Kategoria: | Ei luokiteltu |
| Malli: | RB-Proto+ |
Tarvitsetko apua?
Jos tarvitset apua merkille Joy-it RB-Proto+ esitä kysymys alla ja muut käyttäjät vastaavat sinulle
Ei luokiteltu Joy-it Käyttöohjeet

7 Huhtikuuta 2025
7 Huhtikuuta 2025
31 Tammikuuta 2025
28 Tammikuuta 2025
28 Tammikuuta 2025
17 Tammikuuta 2025
17 Tammikuuta 2025
17 Tammikuuta 2025
17 Tammikuuta 2025
15 Tammikuuta 2025
Ei luokiteltu Käyttöohjeet
Viimeisimmät Ei luokiteltu Käyttöohjeet
9 Huhtikuuta 2025
9 Huhtikuuta 2025
9 Huhtikuuta 2025
9 Huhtikuuta 2025
9 Huhtikuuta 2025
9 Huhtikuuta 2025
9 Huhtikuuta 2025
9 Huhtikuuta 2025
9 Huhtikuuta 2025
9 Huhtikuuta 2025