Extron Cable Cubby 1252 Käyttöohje
Extron Ei luokiteltu Cable Cubby 1252
Lue alta 📖 käyttöohje suomeksi merkille Extron Cable Cubby 1252 (2 sivua) kategoriassa Ei luokiteltu. Tämä opas oli hyödyllinen 30 henkilölle ja sai 4.5 tähden keskimäärin 3 käyttäjältä
Sivu 1/2
1
Cable Cubby 1252 MS Lid Tray Kit •
Installation Guide
This guide provides instructions for an experienced technician to install the Extron
Cable Cubby 1252 MS Lid Tray Kit onto the Cable Cubby 1252 MS enclosure. The lid tray
offers a clean nished edge for the lid insert material.
The surface-matching Cable Cubby 1252 MS is a furniture-mounted enclosure for cable access,
connections, and AC power. The Cable Cubby 1252 MS provides the freedom to either match the surface of
the table or use a unique lid design that complements your décor. Unused cables can be stored out of the way while remaining
connected to the presentation system.
Planning
Check all parts and equipment before installation
Ensure that all parts are present in the kit.
Ensure that necessary tools (Phillip’s head screwdriver and, potentially, shims or putty) are available for the installation.
Kit Contents
PartQuantityPartQuantity
Lid tray
1#4-40 at head lid tray screws
4
#6 at head lid insert
wood screws
4
Preparing the Cable Cubby 1252 MS and Table
See the for the steps necessary to prepare the Cable Cubby enclosure for installation of Cable Cubby 1252 MS Installation Guide
the lid. The lid tray is to be installed in place of the fabricated lid in that guide.
NOTE:If you are surface-matching the table for the lid insert material:
• See “Cutting the Lid Insert Material,” below.
• Make the cut as accurate as possible, the cutout piece can be used for the lid insert to be attached to the lid tray.
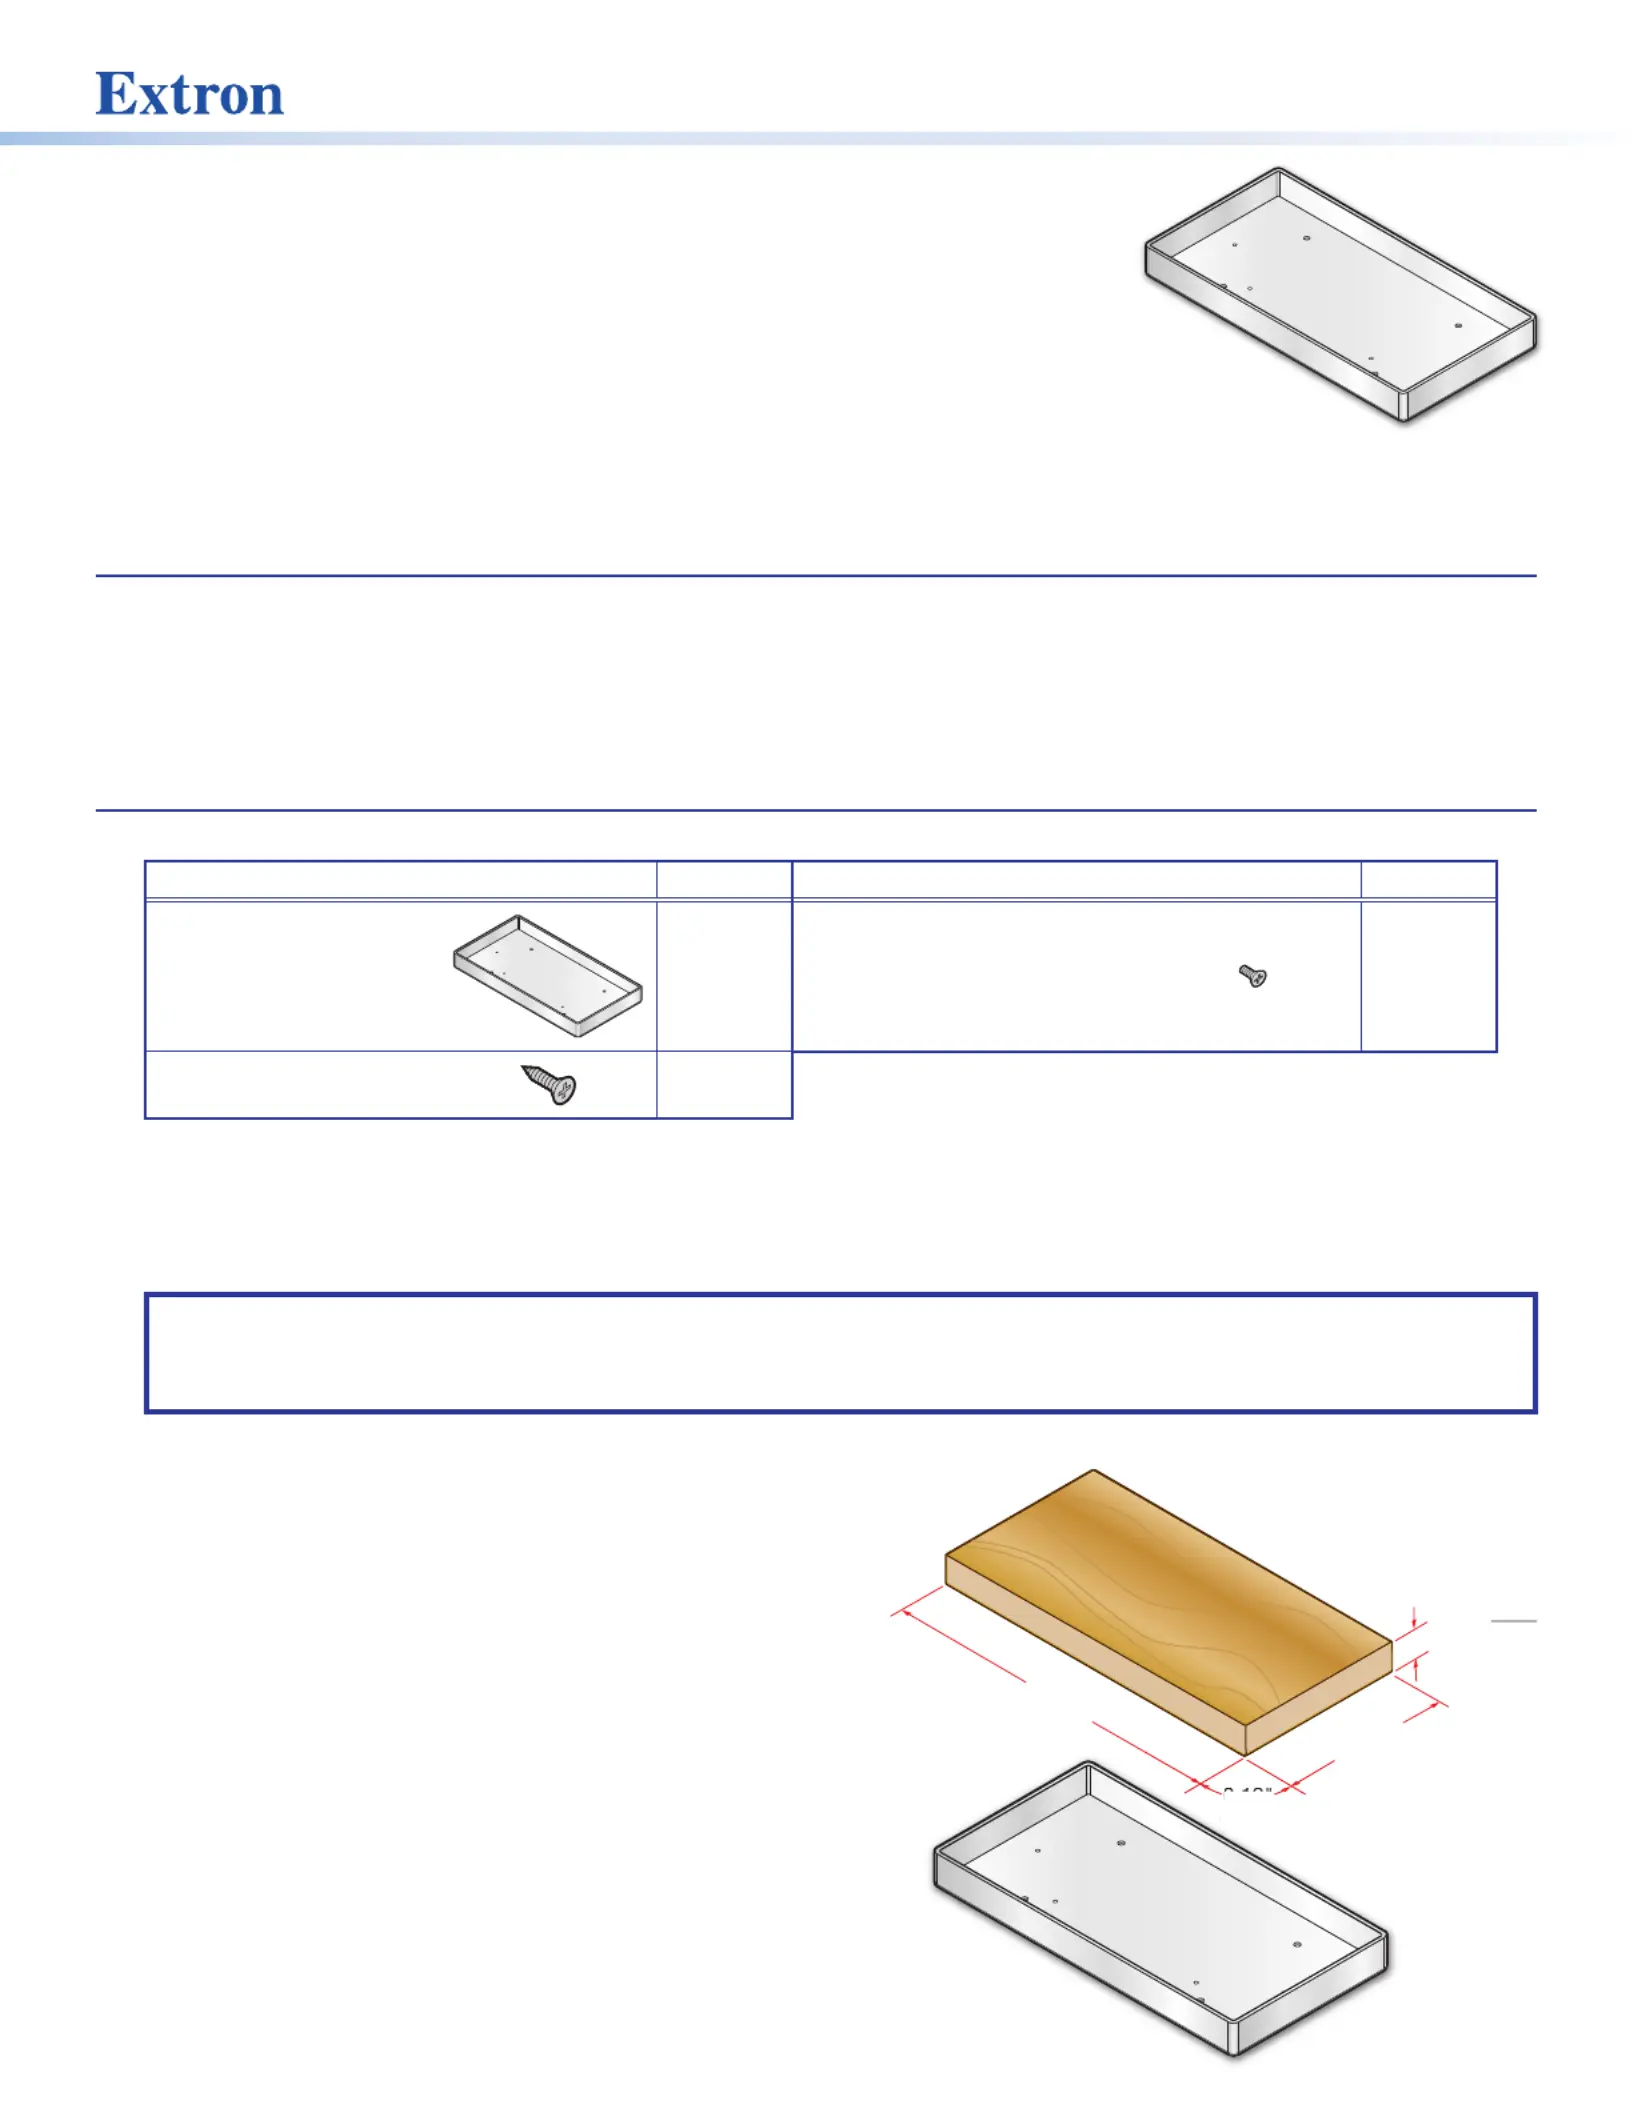
Cutting the Lid Insert Material
8.375"
(212.7 mm)
4.25"
0.70" MA
X
(107.9 mm)
(17.75 mm)
(Varying
thickness)
ers
(107
.
9
(
3.0 mm
)
Radius
C
orn
0.12"
1. Cut a piece of lid insert material to the dimensions shown at
right, as accurately as possible.
Tuotetiedot
| Merkki: | Extron |
| Kategoria: | Ei luokiteltu |
| Malli: | Cable Cubby 1252 |
Tarvitsetko apua?
Jos tarvitset apua merkille Extron Cable Cubby 1252 esitä kysymys alla ja muut käyttäjät vastaavat sinulle
Ei luokiteltu Extron Käyttöohjeet

2 Huhtikuuta 2025
2 Huhtikuuta 2025
2 Huhtikuuta 2025
2 Huhtikuuta 2025
12 Maaliskuuta 2025
10 Maaliskuuta 2025
25 Helmikuuta 2025
25 Helmikuuta 2025
25 Helmikuuta 2025
25 Helmikuuta 2025
Ei luokiteltu Käyttöohjeet
Viimeisimmät Ei luokiteltu Käyttöohjeet
9 Huhtikuuta 2025
9 Huhtikuuta 2025
9 Huhtikuuta 2025
9 Huhtikuuta 2025
9 Huhtikuuta 2025
9 Huhtikuuta 2025
9 Huhtikuuta 2025
9 Huhtikuuta 2025
9 Huhtikuuta 2025
9 Huhtikuuta 2025