Daikin RQEQ140PY13 Käyttöohje
Daikin Ei luokiteltu RQEQ140PY13
Lue alta 📖 käyttöohje suomeksi merkille Daikin RQEQ140PY13 (20 sivua) kategoriassa Ei luokiteltu. Tämä opas oli hyödyllinen 31 henkilölle ja sai 4.9 tähden keskimäärin 3 käyttäjältä
Sivu 1/20
Series
English
Deutsch
Français
Español
Italiano
ΕλληνικÜ
Nederlands
Português
Рóссêий
Türkçe
MODELS
RQYQ140PY1
RQYQ180PY1
RQCYQ280PY1
RQCYQ360PY1
RQCYQ460PY1
RQCYQ500PY1
RQCYQ540PY1
RQEQ140PY13
RQEQ180PY13
RQEQ212PY13
RQCEQ280PY13
RQCEQ360PY13
RQCEQ460PY13
RQCEQ500PY13
RQCEQ540PY13
RQCEQ636PY13
RQCEQ712PY13
RQCEQ744PY13
RQCEQ816PY13
RQCEQ848PY13
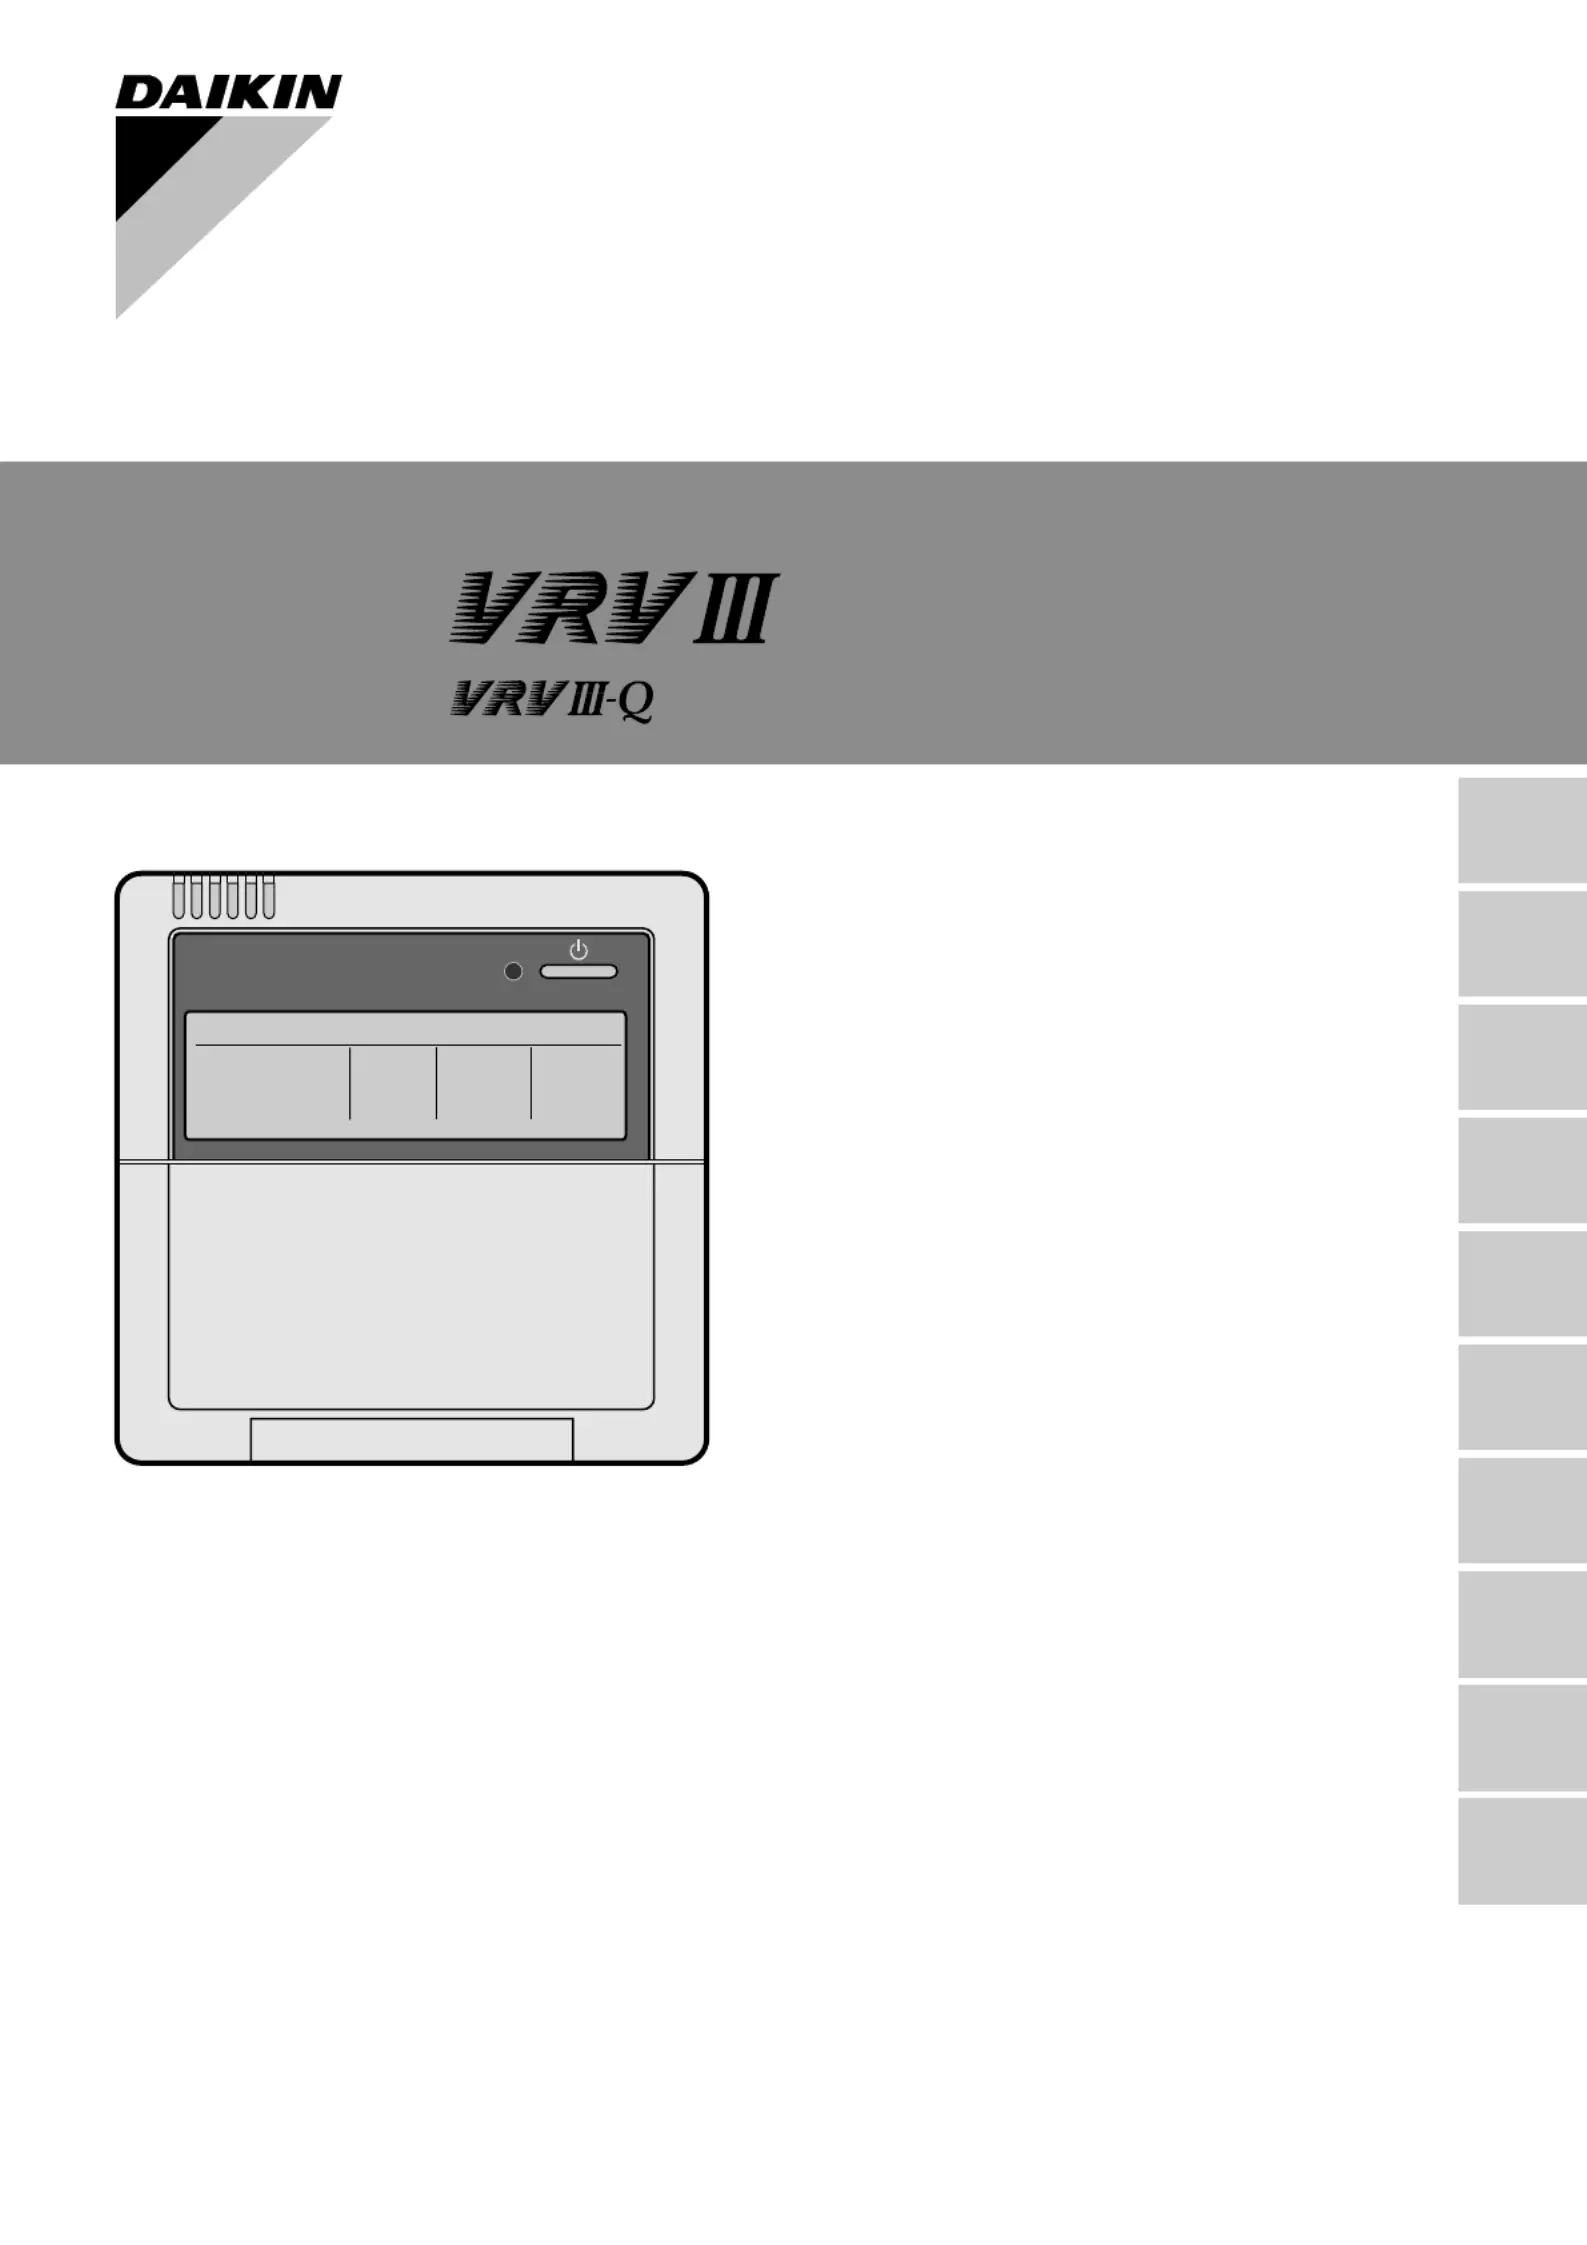
OPERATION MANUAL
System air conditioner
Operation manual
VRVIIISystem air conditioner
Betriebsanweisung
VRVIII System Klimaanlage
Manuel d’utilisation
Conditionneur d’air VRVIII System
Manual de operación
Sistema de acondicionador de aire VRVIII
Manuale d’uso
Condizionatore d’aria a sistema VRVIII
Εγχειρßδιολειτουργßα
ò
Κλιìατιστικü ìεσαýστηì VRV
III
Gebruiksaanwijzing
Airconditioner met VRVIII Systeem
Manual de funcionamento
Ar condicionado VRVIII System
Рэóêоводствопоêсплóатации
Кондиционерсистемы VRV
III
Kullaným kýlavuzu
VRV
III
System Klima
Tuotetiedot
| Merkki: | Daikin |
| Kategoria: | Ei luokiteltu |
| Malli: | RQEQ140PY13 |
Tarvitsetko apua?
Jos tarvitset apua merkille Daikin RQEQ140PY13 esitä kysymys alla ja muut käyttäjät vastaavat sinulle
Ei luokiteltu Daikin Käyttöohjeet

9 Huhtikuuta 2025
9 Huhtikuuta 2025
9 Huhtikuuta 2025
9 Huhtikuuta 2025
9 Huhtikuuta 2025
9 Huhtikuuta 2025
9 Huhtikuuta 2025
11 Helmikuuta 2025
11 Helmikuuta 2025
10 Helmikuuta 2025
Ei luokiteltu Käyttöohjeet
Viimeisimmät Ei luokiteltu Käyttöohjeet
9 Huhtikuuta 2025
9 Huhtikuuta 2025
9 Huhtikuuta 2025
9 Huhtikuuta 2025
9 Huhtikuuta 2025
9 Huhtikuuta 2025
9 Huhtikuuta 2025
9 Huhtikuuta 2025
9 Huhtikuuta 2025
9 Huhtikuuta 2025