Arecont Vision MegaBall AV1145DN Käyttöohje
Arecont Vision Turvakamera MegaBall AV1145DN
Lue alta 📖 käyttöohje suomeksi merkille Arecont Vision MegaBall AV1145DN (15 sivua) kategoriassa Turvakamera. Tämä opas oli hyödyllinen 42 henkilölle ja sai 4.3 tähden keskimäärin 4 käyttäjältä
Sivu 1/15
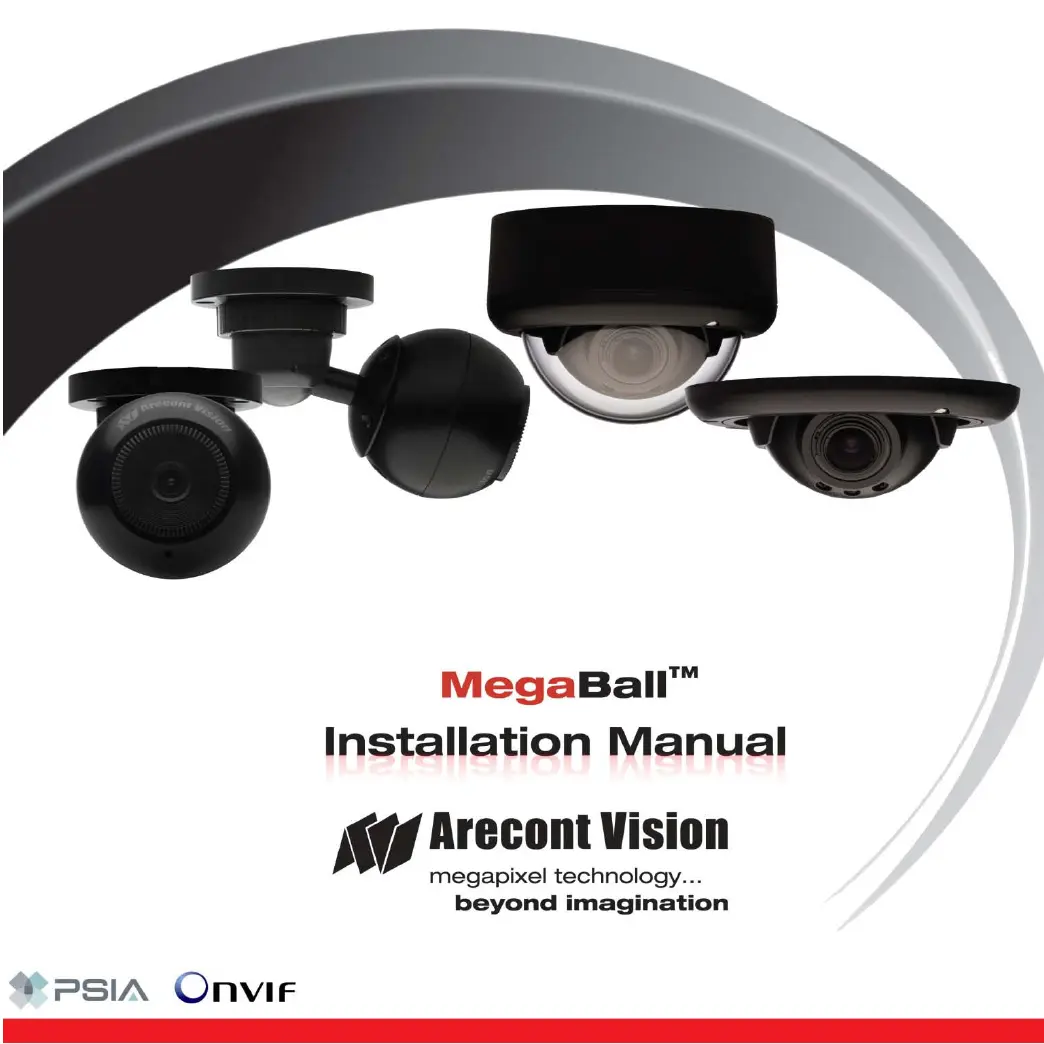
Arecont Vision MegaBall™ Installation Manual
0| Page
Tuotetiedot
| Merkki: | Arecont Vision |
| Kategoria: | Turvakamera |
| Malli: | MegaBall AV1145DN |
Tarvitsetko apua?
Jos tarvitset apua merkille Arecont Vision MegaBall AV1145DN esitä kysymys alla ja muut käyttäjät vastaavat sinulle
Turvakamera Arecont Vision Käyttöohjeet

3 Helmikuuta 2025
3 Helmikuuta 2025
3 Helmikuuta 2025
3 Helmikuuta 2025
3 Helmikuuta 2025
3 Helmikuuta 2025
3 Helmikuuta 2025
3 Helmikuuta 2025
3 Helmikuuta 2025
3 Helmikuuta 2025
Turvakamera Käyttöohjeet
Viimeisimmät Turvakamera Käyttöohjeet
2 Huhtikuuta 2025
30 Maaliskuuta 2025
30 Maaliskuuta 2025
30 Maaliskuuta 2025
30 Maaliskuuta 2025
29 Maaliskuuta 2025
29 Maaliskuuta 2025
27 Maaliskuuta 2025
27 Maaliskuuta 2025
27 Maaliskuuta 2025